
How To Replace a Broken Garbage Disposal
Before replacing a disposal, you should make sure it’s fully broken. You can check all simple fixes in our previous article, Top Reasons Your Garbage Disposal Stopped Working and How to Fix It. If the pressing the red reset button or using the hex wrench doesn’t fix the issue, it’s time to replace your unit.
Below is a complete step-by-step guide to safely remove and install a new garbage disposal — even if you have little to no handyman experience.
Tools and Materials You’ll Need
Adjustable wrench or channel locks
Flathead screwdriver
Plumber’s putty
Bucket or towel
New garbage disposal unit (Insinkerator Badger 500 recommended)
Mounting ring (if not pre-installed)
Power cord kit (if your new disposal doesn’t include one)
Step 1: Safety First
Before doing anything, make sure to turn off the power to your disposal at your electrical breaker panel. Then unplug it from the outlet under the sink.
Note: Never work on a disposal while it’s still connected to power even if it appears off.

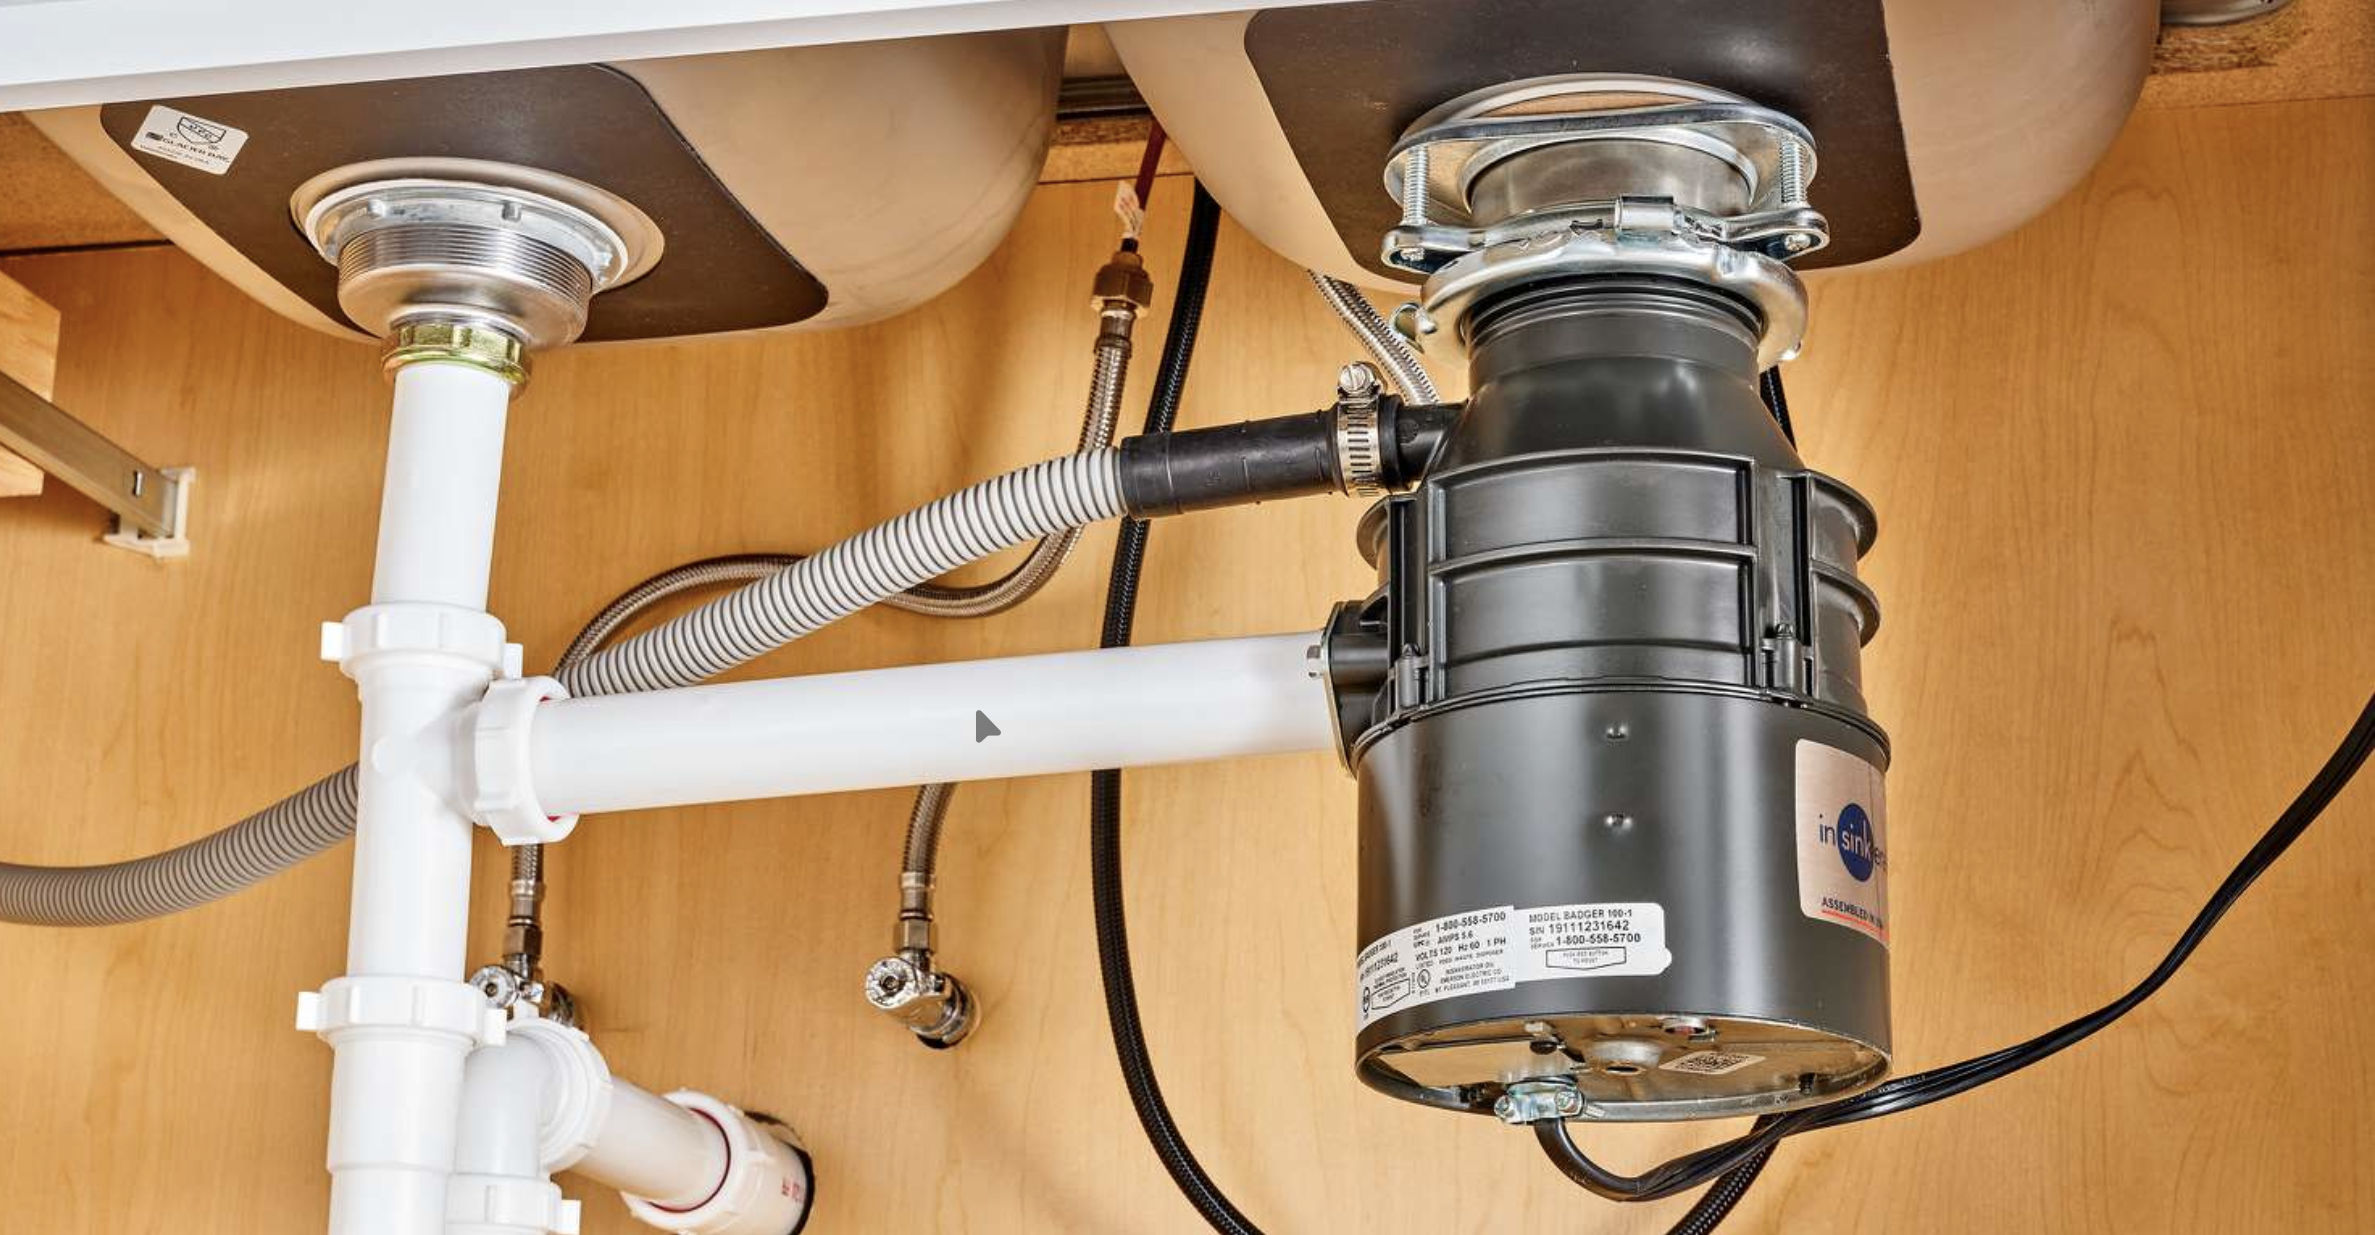
Step 2: Disconnect the drain and Dishwasher Lines
Place a towel or small bucket beneath the sink to catch any leftover water.
Loosen the slip nut that connects the drainpipe to your disposal using a wrench.
Disconnect the dishwasher rain hose (if applicable).
(Photo idea: Show where the drainpipe and dishwasher line attach to the disposal)
Step 3: Remove the Disposal
Support the disposal with one hand while locating the mounting ring that connects it to the sink flange.
Rotate the ring counterclockwise until the disposal releases.
Carefully lower the disposal (it’s heavier than it looks)!
(Photo idea: Show how to rotate the mounting ring counterclockwise)
Step 4: Disconnect the Wiring
Flip the disposal upside down.
Remove the small bottom plate to expose the wiring compartment.
Unscrew the wire nuts and disconnect the black (hot), white (neutral), and green (ground) wires.
Note: You can reuse the power cord if your new disposal doesn’t include one.
Step 5: Clean and Prep the Sink Flange
Remove the old mounting assembly and scrape away any old plumber’s putty or residue.
Roll a small rope of fresh plumber’s putty and press it around the sink drain opening.
Insert the new sink flange and push it firmly into place to create a watertight seal.
Step 6: Install the New Mounting Assembly
Most new disposals cone with a standard mounting system: Follow your manufacturer’s directions, but typically:
Slide the rubber gasket and backup ring onto the sink flange.
Attach the mounting ring and secure it with the snap ring.
Tighten the screws evenly to keep everything flush.
Step 7: Connect the Power Cord
If your new disposal didn’t come with a power cord pre-installed:
Remove the bottom access cover.
Connect wires color-to-color (ie. black to black, white to white, and green to the ground screw).
Tighten all connections and replace the cover.
Step 8: Mount the New Disposal
Lift the new unit and align it with the mounting assembly under the sink.
Rotate the mounting ring clockwise until it locks securely.
Reconnect the drain line and dishwasher hose.
(Photo idea: Show the unit reattached to the sink with drain lines connected).
Step 9: Test and Check for Leaks
Turn the power back on at the breaker
Plug the disposal in and run cold water while turning it on.
Check for leaks around the flange and drainpipe (tighten as needed).
Note: If you hear humming but not grinding, make sure nothing is obstructing the flywheel.
Disposal Maintenance Tips:
Always run cold water before, during, and after use.
Avoid grinding bones, grease, or fibrous vegetables.
Freshen monthly with a few ice cubes and a splash of vinegar or lemon juice.
Need a Hand with Installation?
If your new garbage disposal still won’t run, or you’d rather leave it to the pros, QuickTurn Maintenance can help. Our technicians handle removal, installation, and testing ensuring everything runs smoothly the first time.
Call (916) 573-9859 or visit QuickTurnCA.com to schedule your service today.