
How to Rekey a Schlage Electronic Lock Cylinder
Rekeying a Schlage electronic lock requires precision but can save you money over replacing the entire unit. This guide walks you through cylinder disassembly, pin replacement, and reassembly. The most important skill: using the follow tube correctly to prevent spring collapse.
Watch the Tutorial
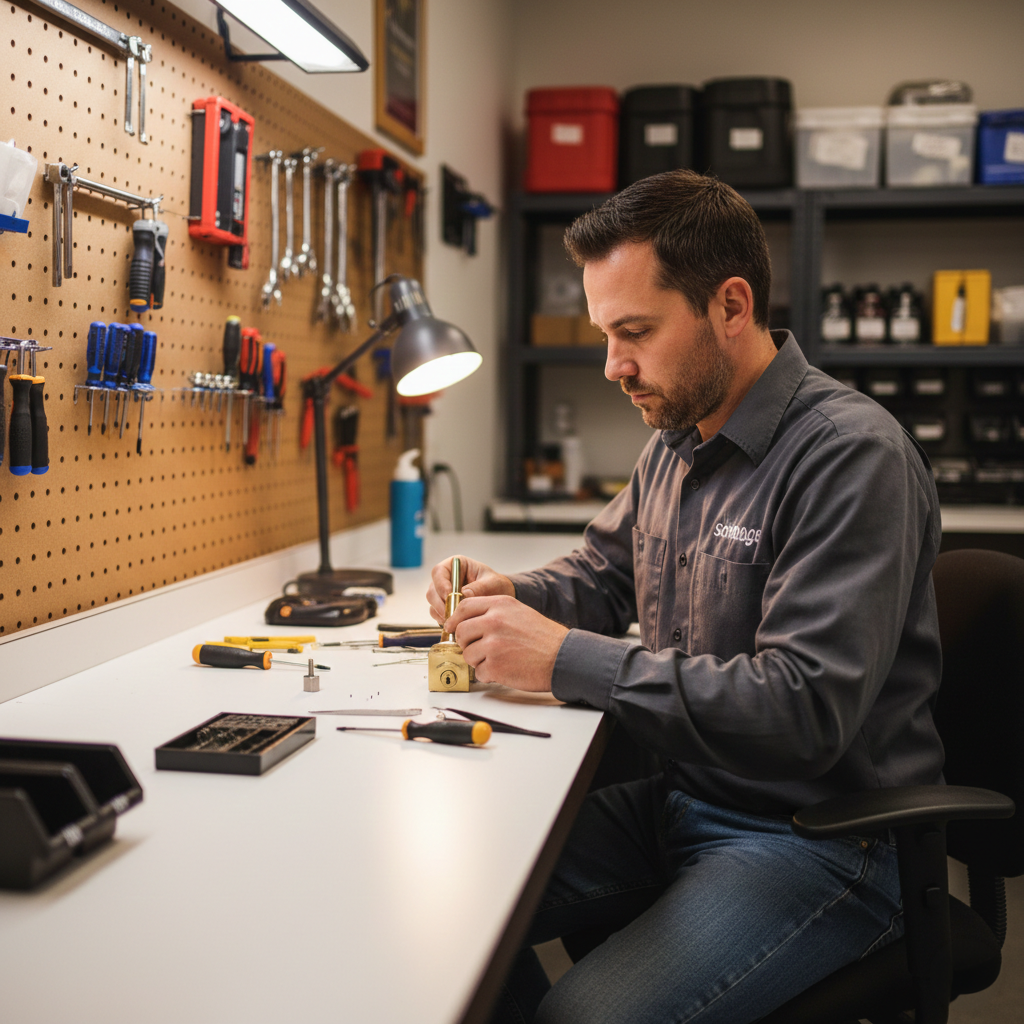
Matt from QuickTurn Maintenance demonstrates the complete process:
What You’ll Need
Small flathead screwdriver
Schlage rekeying kit (includes follow tube and bracket tool)
Pin kit with various sizes
Pin measuring tool (optional)
Small pin or paperclip
Your new key
Pro Tip: Remove the lock from the door. It’s much easier to work on a table with good lighting.
Part 1: Remove the Cylinder
Remove the Cylinder from the Lock Body
Pry off the small cover plate.
Remove the set screw (trap it between your finger and the screwdriver to prevent dropping).
Push the cylinder out from the back, or flip the lock to let it fall out.
Disassemble the Cylinder
Remove the back piece:
Insert your current working key.
Press down on the spring-loaded gold pin on the back.
Rotate the back piece counterclockwise and remove it.
A small pin and spring will come out—shake gently to ensure the spring is fully removed.
Remove the bracket:
Use the bracket removal tool from your rekeying kit.
Align the tool’s opening with the bracket.
Push firmly to slide it off.
⚠️ Warning: The bracket is spring-loaded and can shoot off. Keep it contained and pointed away from your face.
Part 2: The Rekeying Process (Critical Step)
Use the Follow Tube Technique
This is the most important step. The follow tube holds internal springs and top pins in place while you swap the bottom pins.
Insert your key and rotate it slightly out of alignment.
Press the follow tube firmly against the back of the cylinder with zero gap.
Slide the cylinder out while the follow tube slides in at the same time.
The follow tube now holds all springs and top pins inside the housing.
Critical: Any gap between the follow tube and the cylinder can cause springs and top pins to collapse into the housing. If that happens, you’ll have to reset everything and start over.
Replace the Pins
Dump out the old bottom pins.
Determine new pin sizes:
Check the numbers stamped on your new key (easiest).
Use a pin measuring tool.
Use trial and error if needed.
Insert new pins according to your measurements and key bitting.
The Flat Test (Quality Check)
All pins must sit perfectly flush with the top of the cylinder. Run your finger across the top—you shouldn’t feel any pins sticking up. If any pin sits higher than the surface, your measurements are wrong and the lock will not work reliably.
Part 3: Reassembly and Testing
Reinsert the Cylinder
Push the cylinder back into the housing (this will push the follow tube out).
Remove the follow tube.
Test Immediately
Insert your new key and try to rotate it:
✅ Rotates smoothly = pins are correct, proceed.
❌ Gets stuck or binds = one or more pins are incorrect; disassemble and repin.
Complete the Reassembly
Snap the bracket back onto the cylinder.
Insert the small spring into its cavity.
Place the small pin on top of the spring.
Position the back piece and rotate clockwise until the gold pin locks it in place.
Slide the cylinder back into the lock body.
Replace the set screw and faceplate.
Do a final rotation test with your new key.
When to Call a Professional
You need multiple locks rekeyed quickly.
The cylinder is damaged, worn, or heavily corroded.
You need a master key system or keyed-alike setup.
The springs collapsed and you’re not comfortable resetting everything.
Any step in this tutorial feels too difficult or risky.
