
Why AC Replacement Is More Complicated Than It Looks (And What Happens When It's Done Wrong)
Replacing a wall AC unit seems straightforward. Slide the old one out, slide the new one in. But cut that corner and you'll pay for it in callbacks, energy bills, and tenant complaints for years. Here's what a proper AC replacement actually involves and why it matters.
The Problem We Keep Running Into This Summer
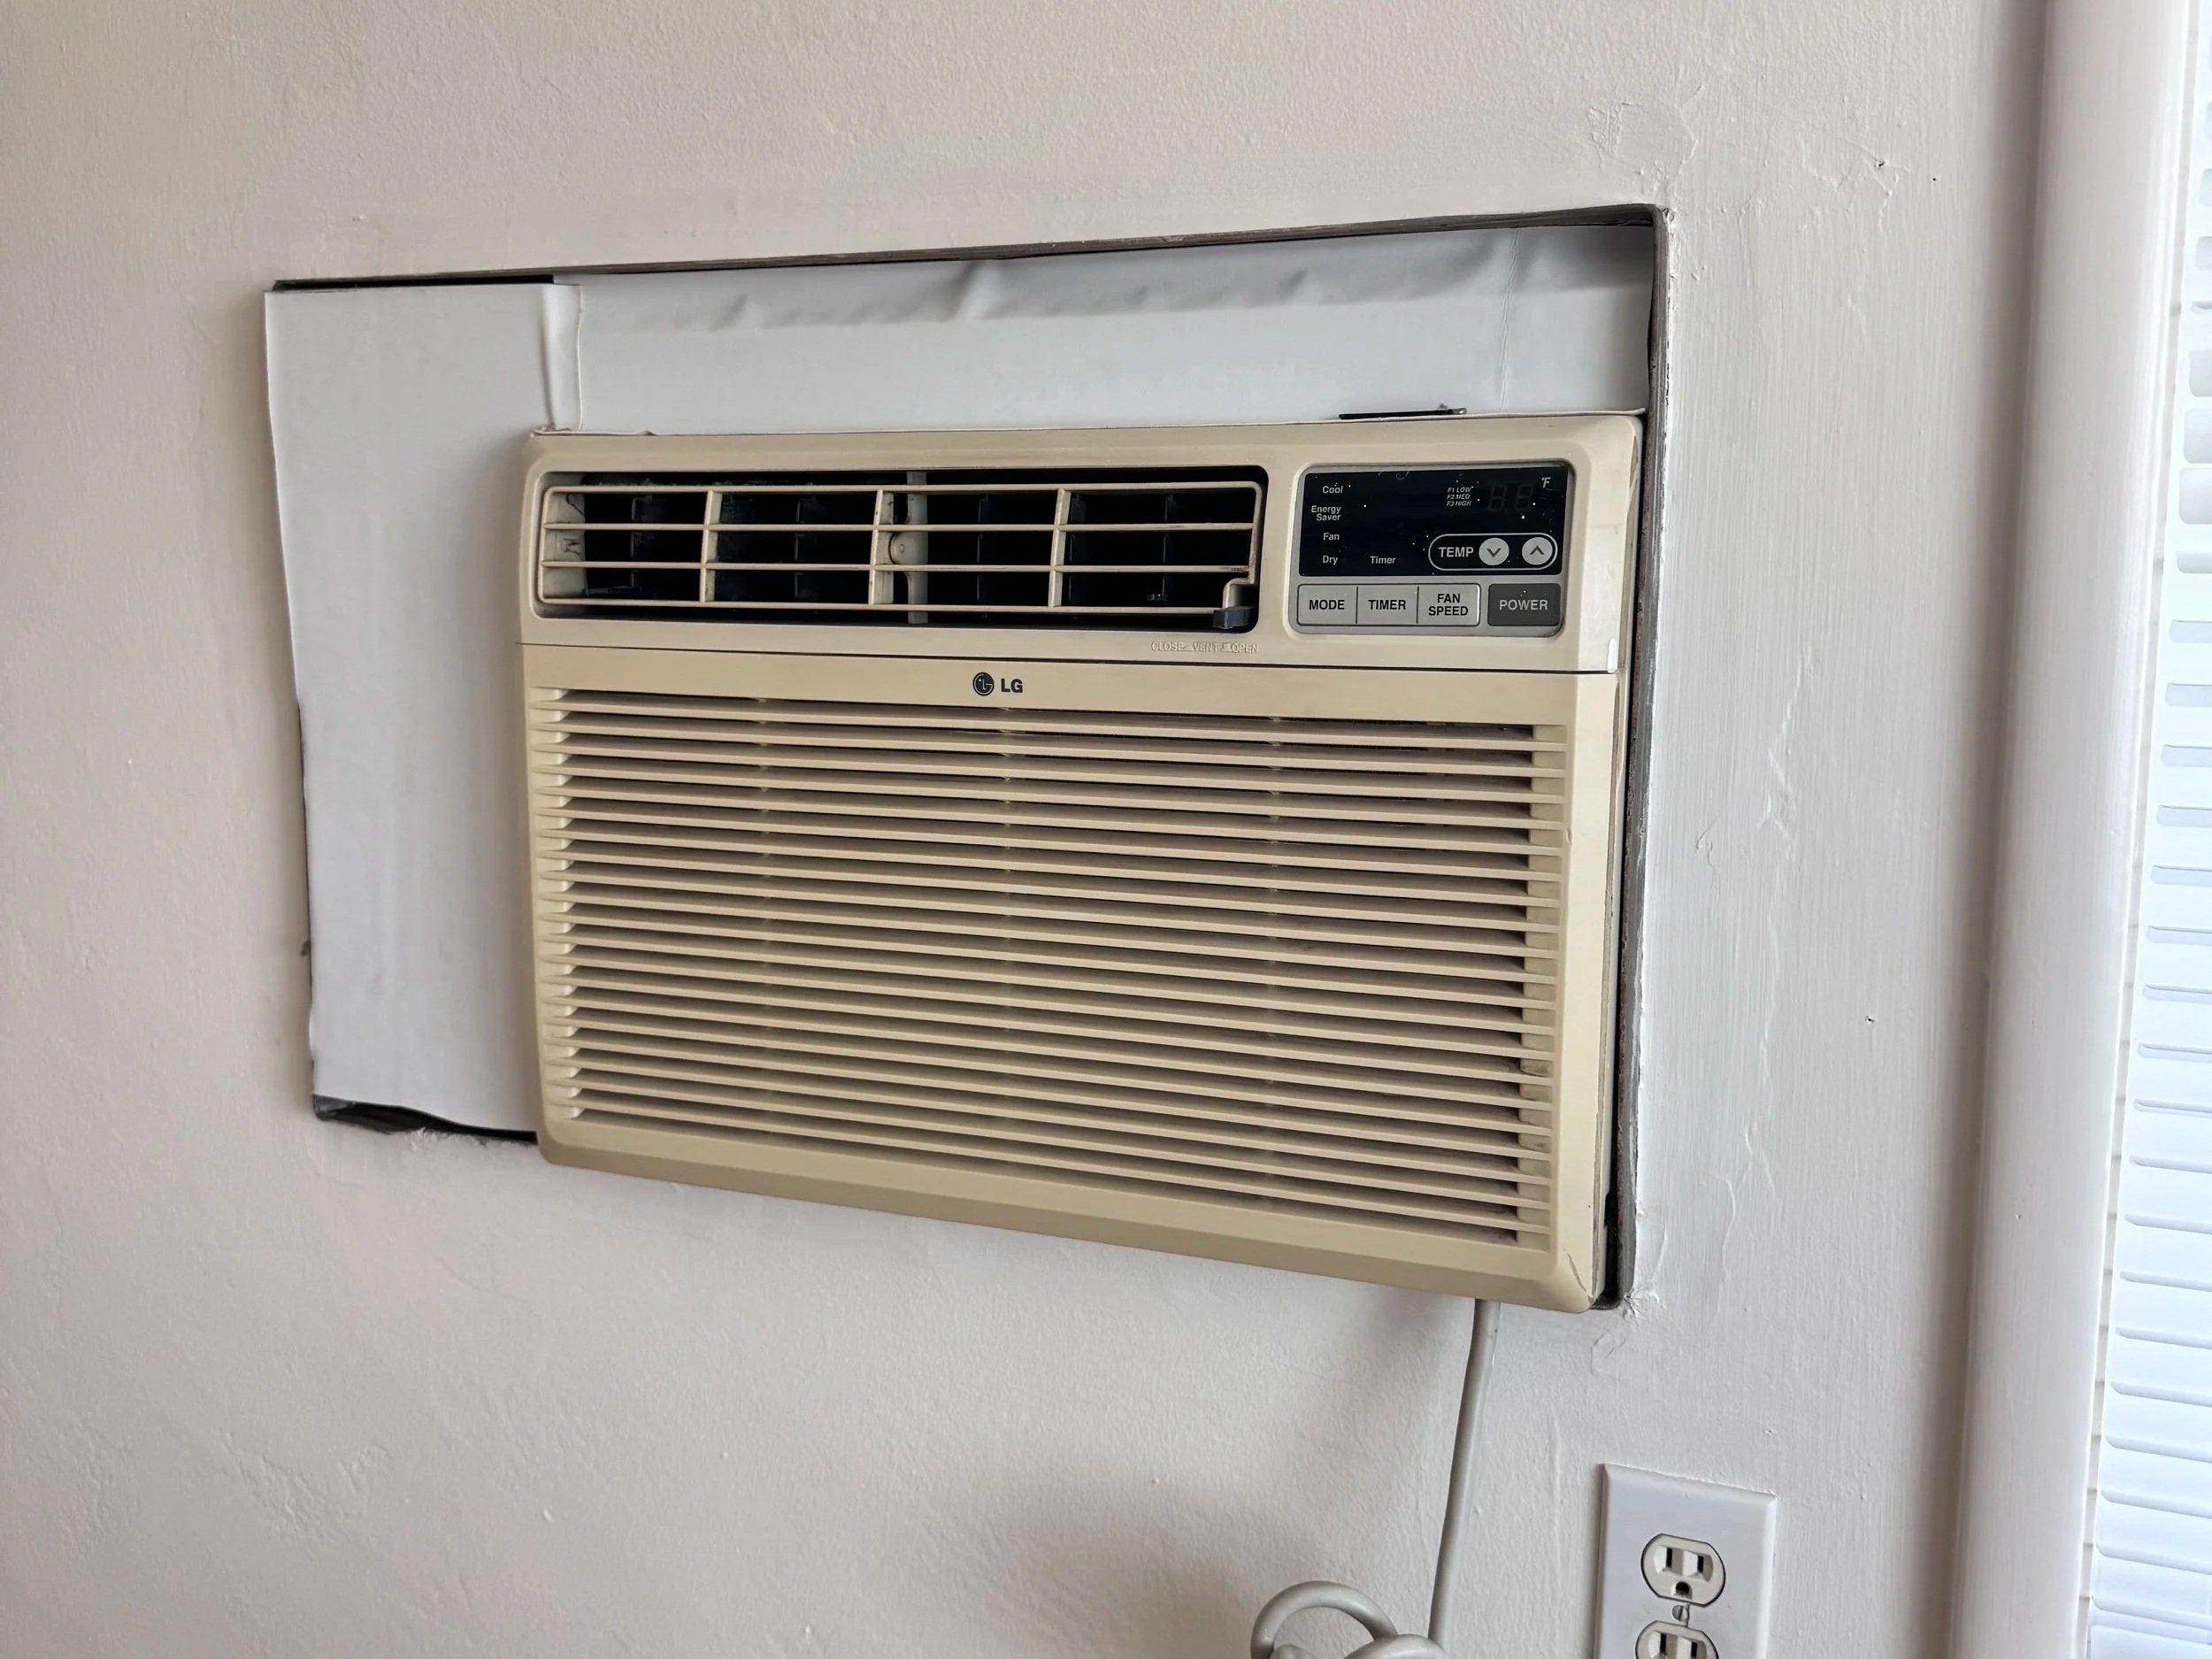
AC replacement season is in full swing, and we've been seeing the same issue over and over at properties across the Sacramento area: undersized units stuffed into wall openings that weren't built for them.
Here's the pattern.
A previous maintenance person needed to replace an AC unit. Instead of doing the job right, they grabbed the cheapest unit available and shoved it into the existing wall cage.
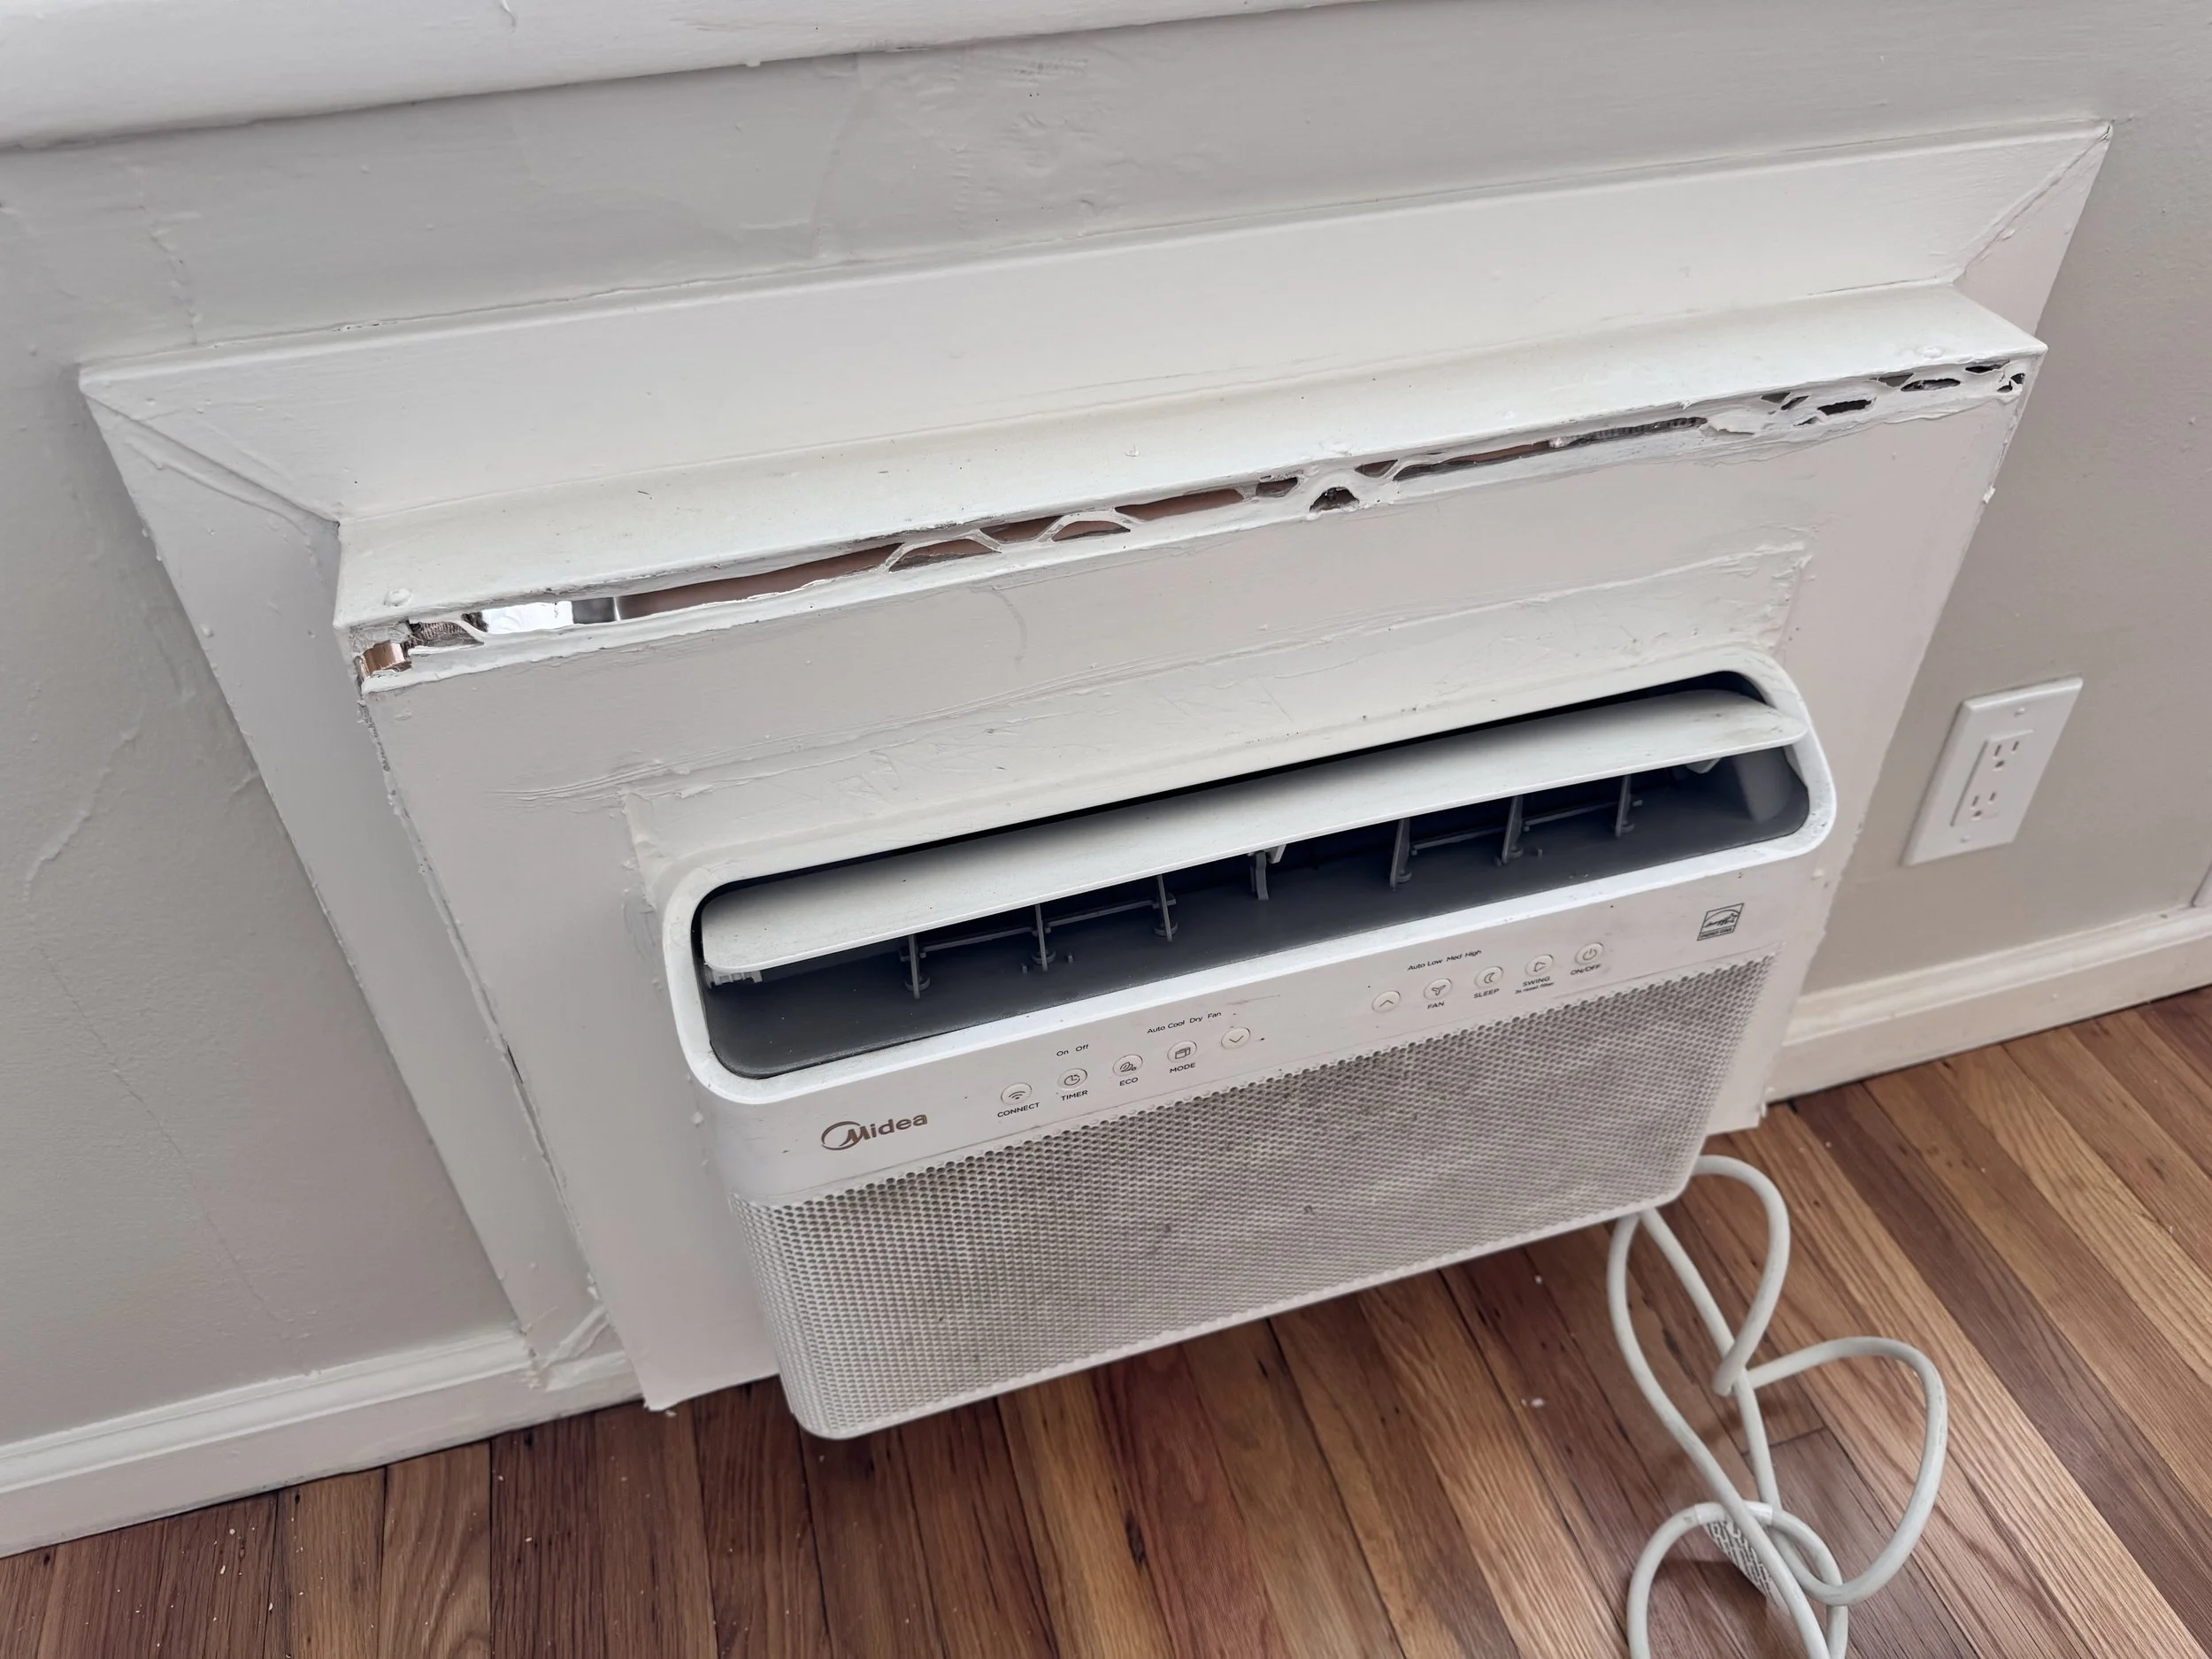
The unit doesn't fit the opening correctly; it's too small for the apartment it's supposed to cool, and the gaps around the housing are sealed with whatever was nearby.
The tenant sweats through August. The unit runs constantly, trying to keep up. Within a year or two, it fails.
We've been called in to fix these situations. In some cases, we've taken over all AC replacements for one of the largest property managers in our market because their previous vendors kept cutting corners. The callbacks were piling up, and the tenants weren't happy.
After we completed the first few replacements the right way, the property manager told us it was refreshing to finally have a vendor who took the work seriously and did it well.
This is what a proper AC replacement actually looks like.
Why the "Just Swap It Out" Approach Fails
The most common misconception about wall AC replacement is that units are interchangeable. They're not.
Even two AC units that are roughly the same size will not fit into the same wall housing. Every unit is manufactured with its own specific dimensions, and the sleeve or cage built into the wall is custom to the original unit.
When you replace an AC with a different model, even a high-quality one, you cannot simply slide it in and expect a clean, sealed fit.
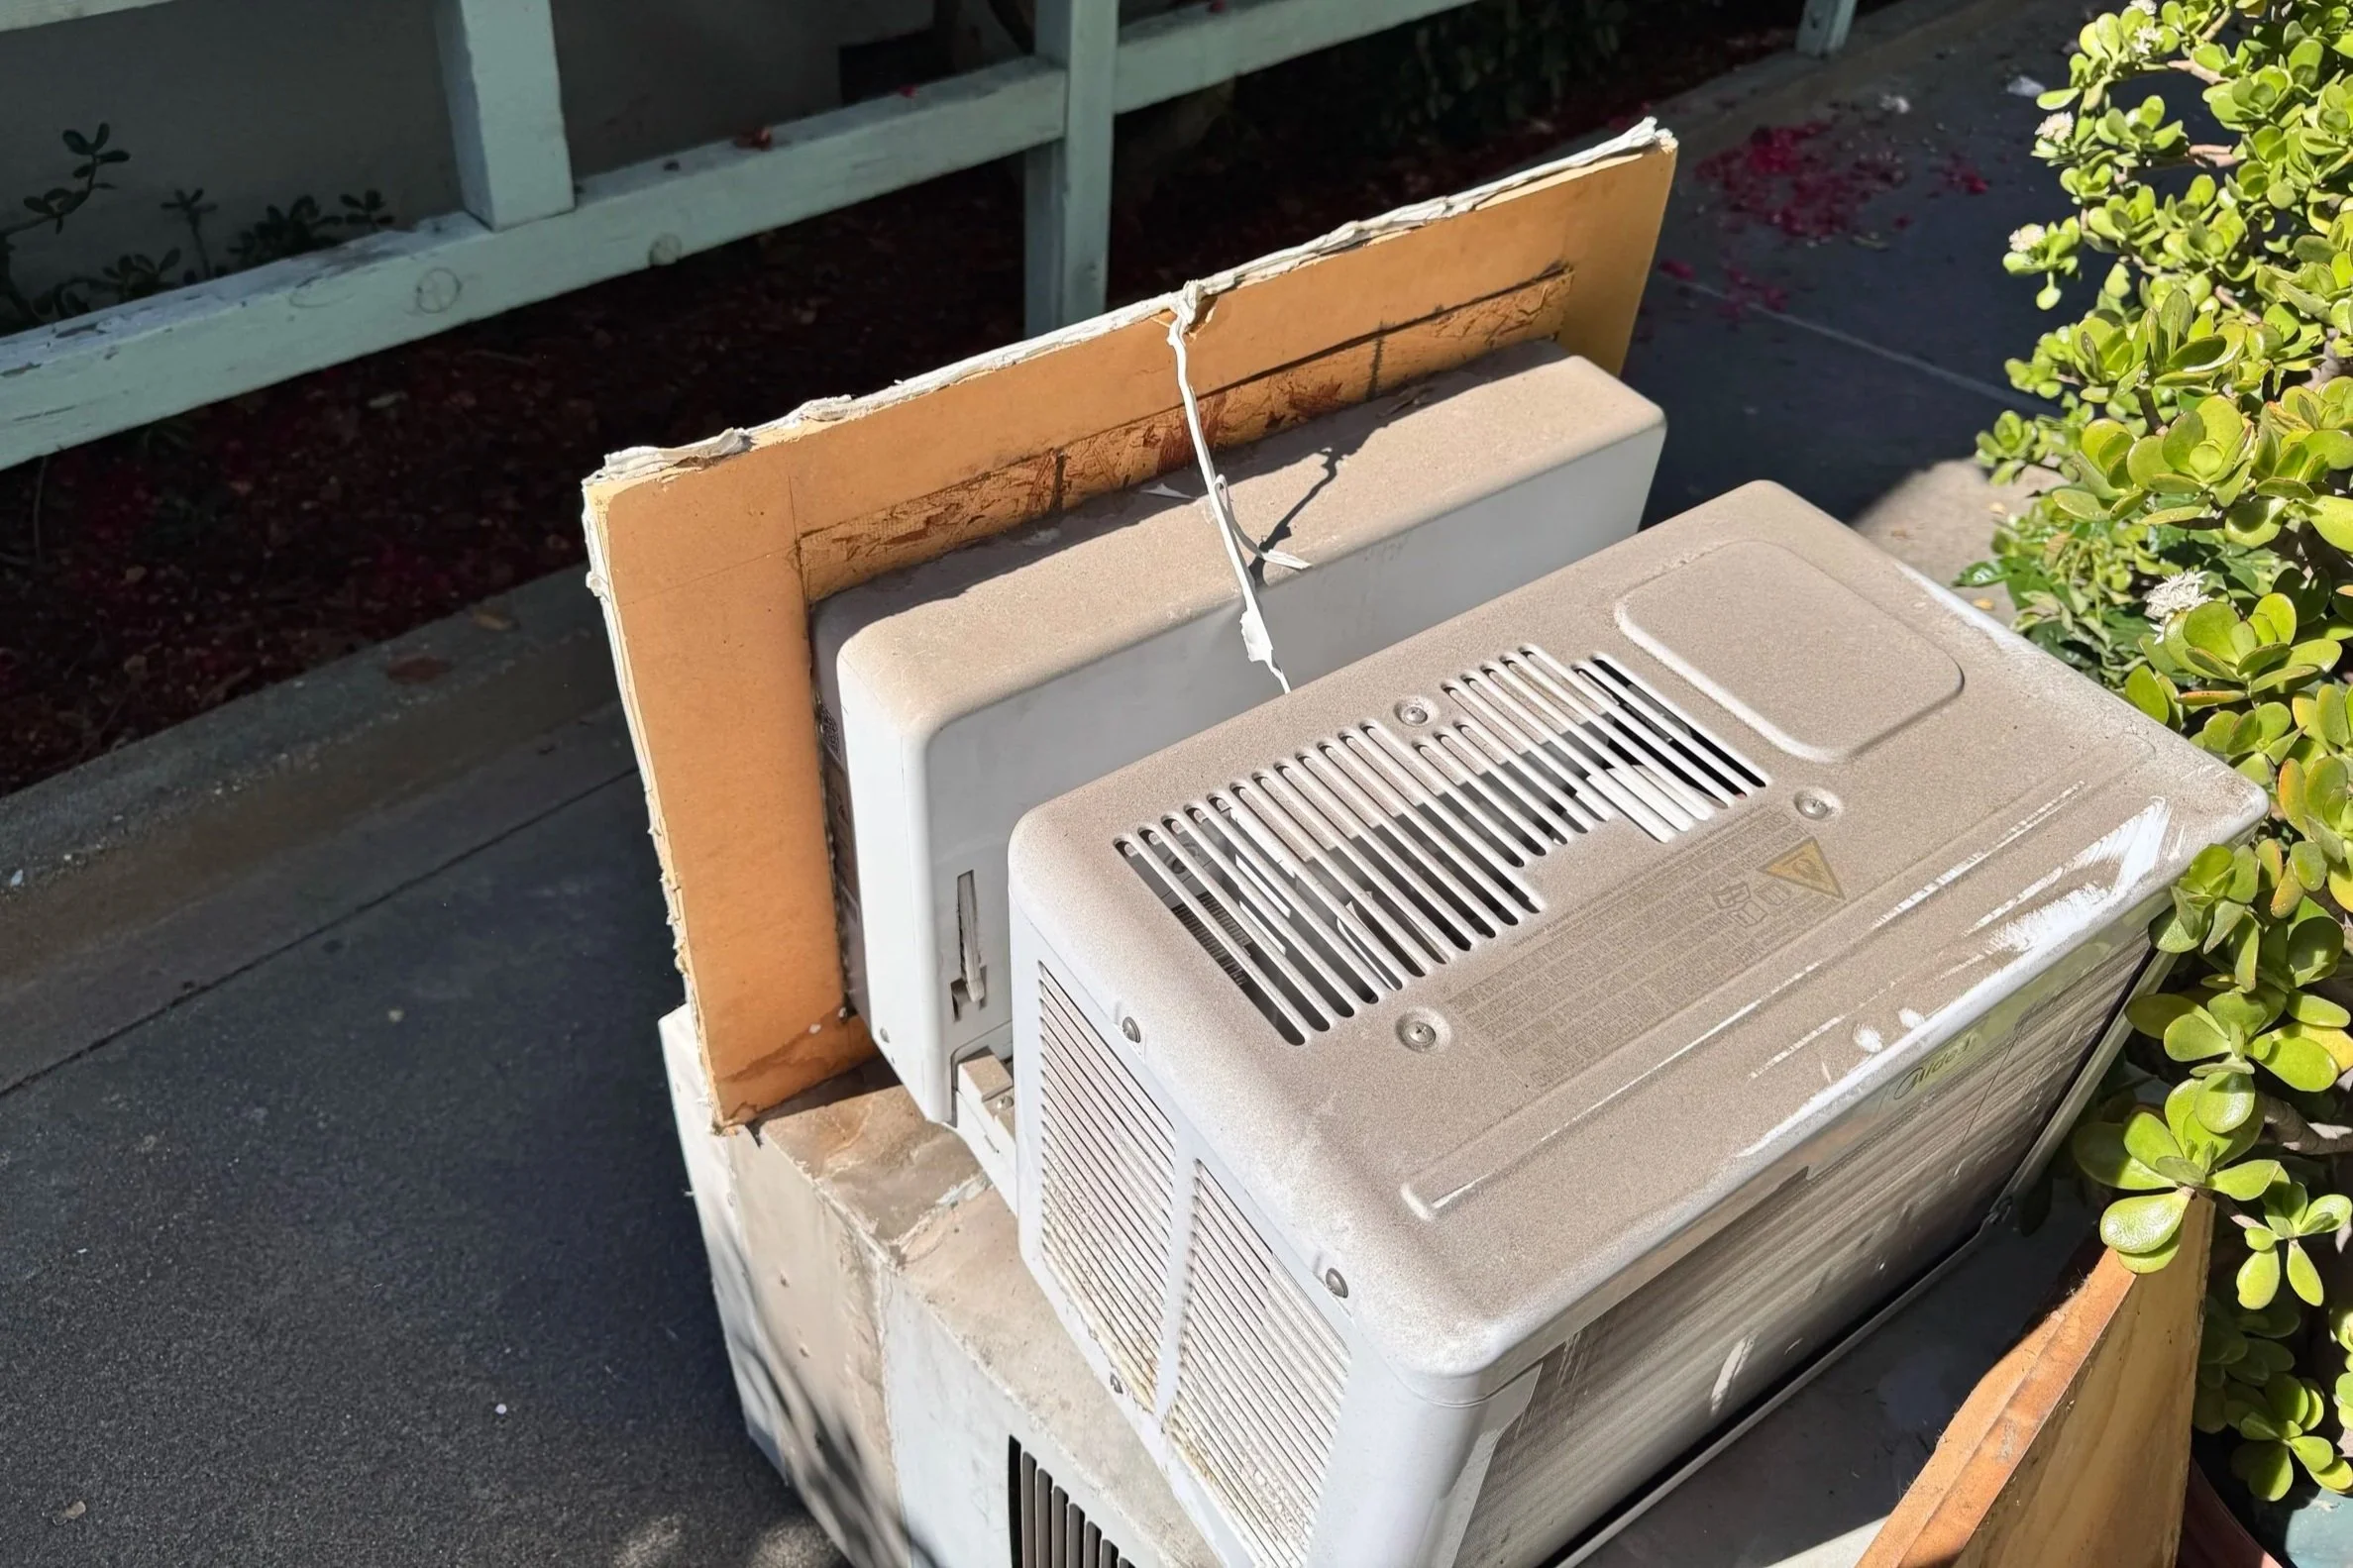
When a previous installer chose a unit that was too small, either because it was cheaper or just what was available, the gap between the new unit and the old sleeve becomes even larger. That gap has to go somewhere.
What usually happens is one of the following:
Foam backer rod stuffed into the opening and caulked over
Mismatched trim pieces tacked around the perimeter
Loose insulation was pushed into the void and painted over
A combination of all three, none of it properly sealed
These are temporary fixes at best. They degrade quickly, especially in California's heat. Within one or two seasons, those seals fail and the problems begin.
What a Bad AC Installation Actually Costs You
The consequences of a sloppy AC replacement go well beyond aesthetics. Here's what property managers actually deal with when the job is done wrong.
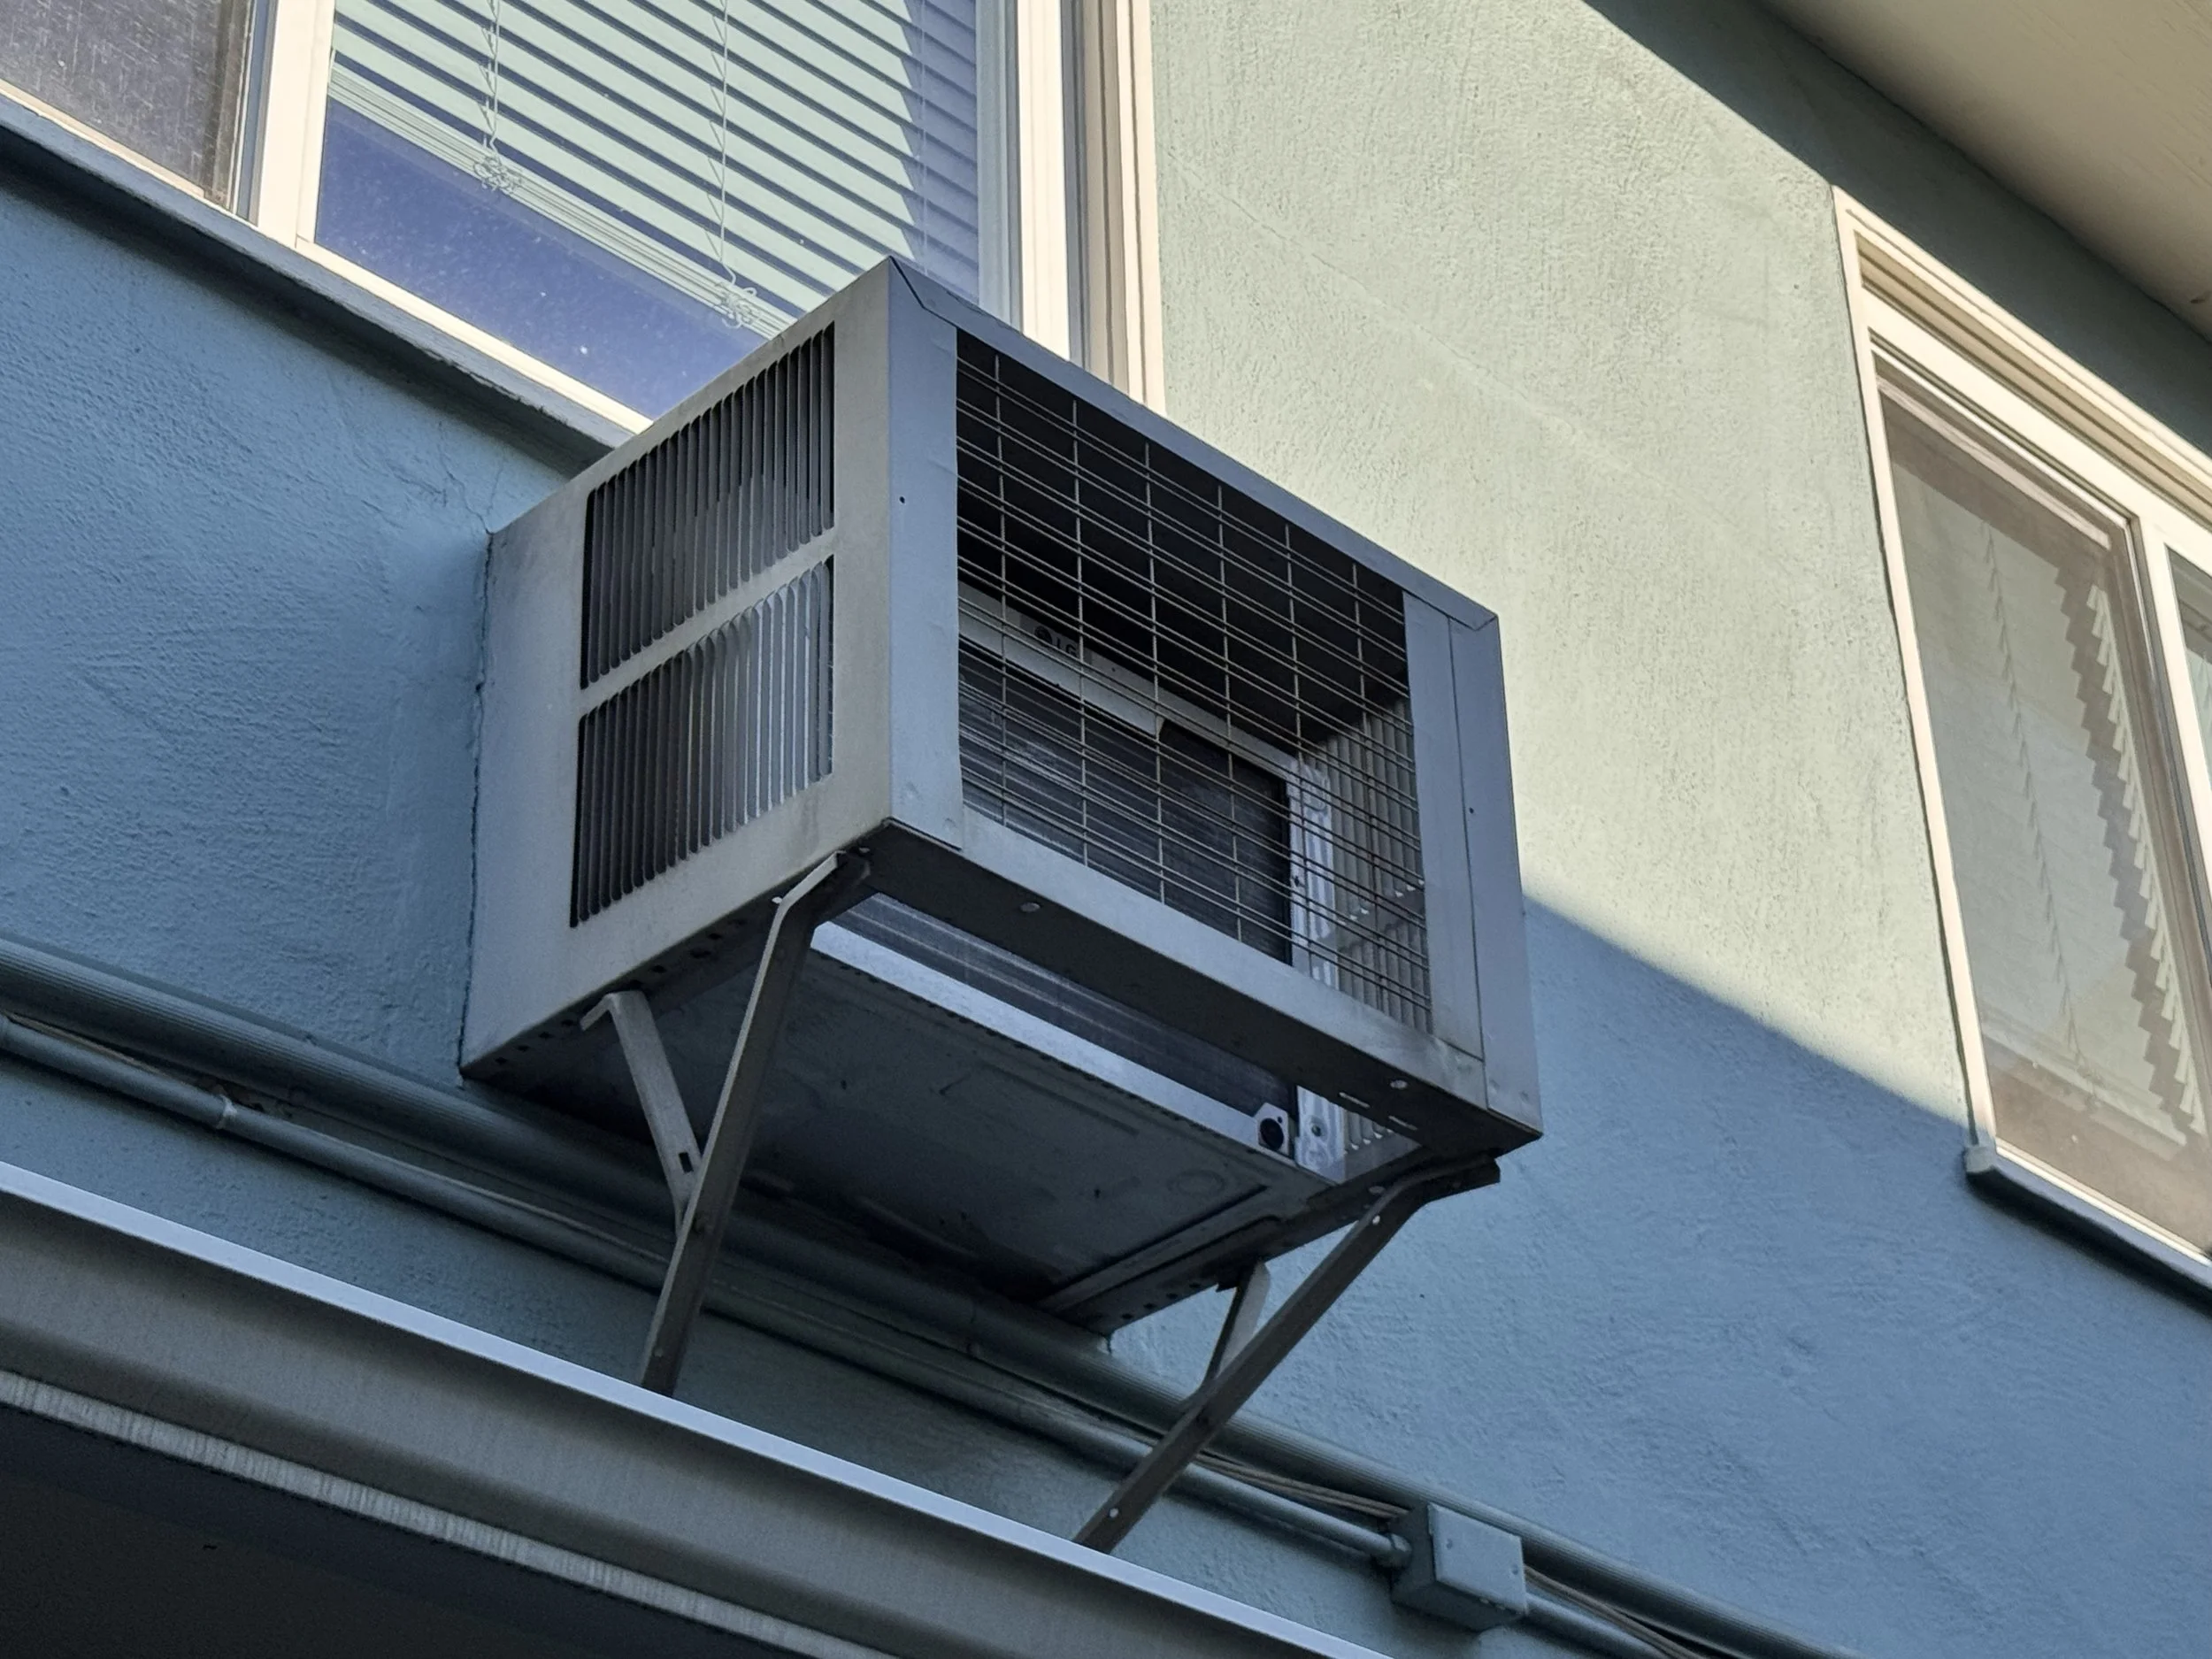
The Unit Wears Out Faster
When an AC unit is undersized for the space it's cooling, it runs longer and works harder to reach the thermostat setpoint. An AC that cycles on and off appropriately throughout the day will last significantly longer than one that runs almost continuously because it can never quite get the room to temperature.
The industry standard lifespan for a properly sized wall AC unit is around 10 years with routine maintenance. Undersized units that run constantly often fail within three to five years. For a property manager replacing units across a portfolio, that shortened lifespan adds up fast.
The Building Envelope Is Compromised
A wall AC unit sits in a hole in your building. When that hole isn't properly sealed around the unit, it creates a direct path between the interior of the apartment and the outside air. In summer, hot air pushes in around the unit. In winter, cold air does the same.
This is called a building envelope failure, and it directly undermines the efficiency of the entire apartment.
Tenants feel drafts near the unit. Their heating and cooling bills go up. They call and complain.
In California, where summers regularly push above 100 degrees in the Sacramento valley, a compromised seal around an AC unit isn't a minor annoyance. It's a habitability issue.
Callbacks and Tenant Turnover
A unit that fails prematurely or an apartment that can't stay cool generates maintenance callbacks. Callbacks cost money in labor and materials, but they also cost something harder to measure: tenant trust. Tenants who are uncomfortable in their apartments and feel like maintenance issues aren't being taken seriously are tenants who don't renew their leases.
For a property manager, the cost of one tenant turnover—including lost rent during vacancy, cleaning, repainting, and re-leasing fees—typically far exceeds the cost of doing the AC replacement correctly in the first place.
What a Proper AC Replacement Actually Involves
At QuickTurn Maintenance, a wall AC replacement is as much a carpentry and finish job as it is an equipment swap. Here's what the process looks like when it's done right.
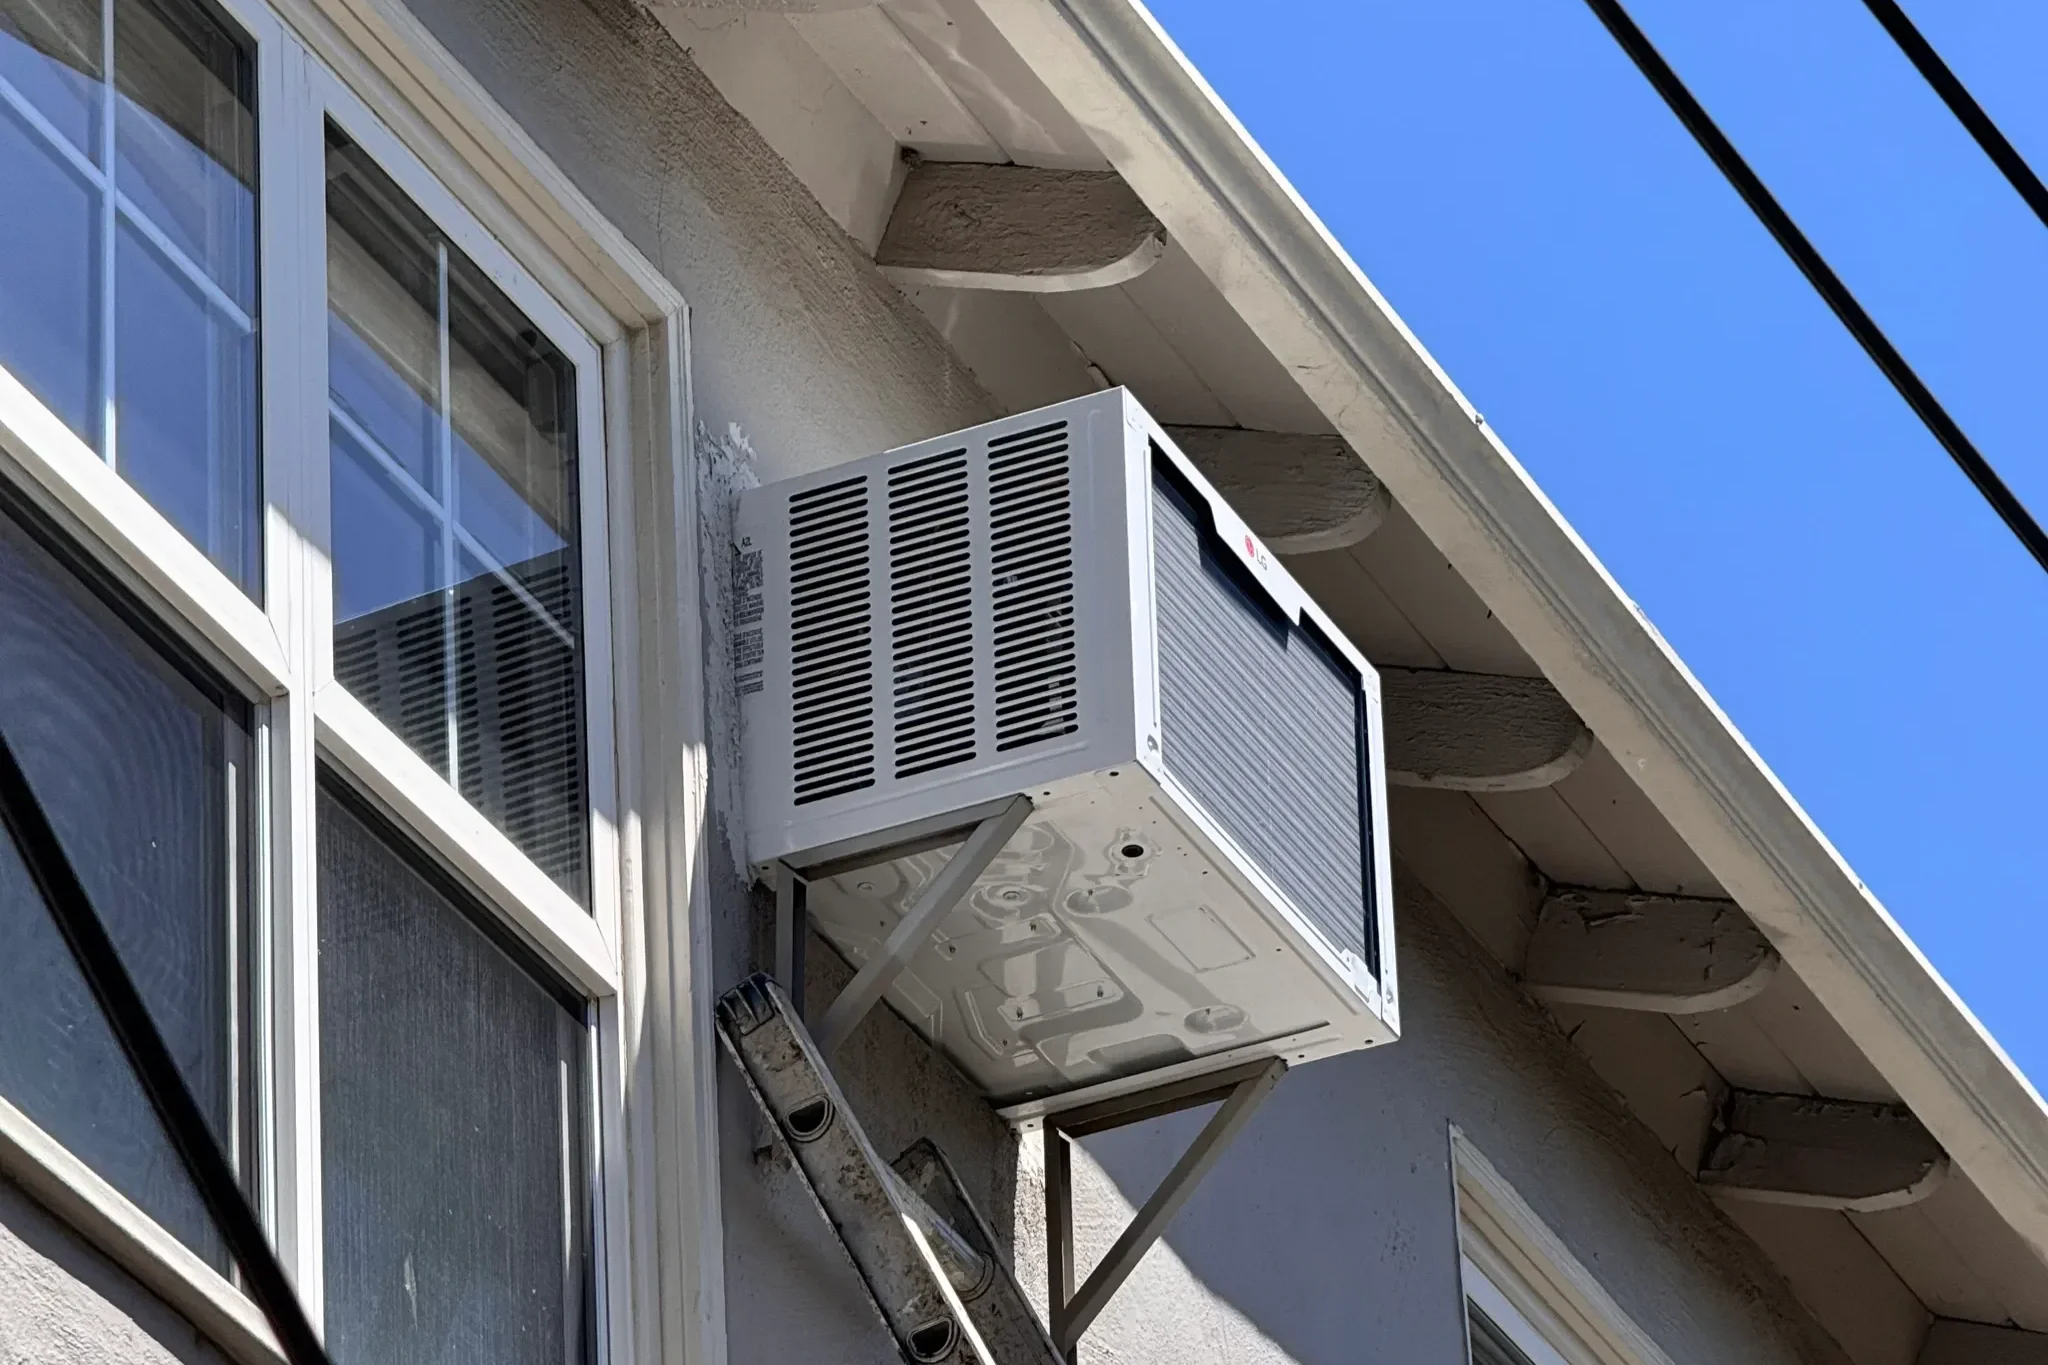
Step 1: Size the Unit Correctly
Before anything comes out of the wall, the replacement unit needs to be properly specified for the space. AC units are rated in BTUs, and the correct BTU rating is determined by the square footage of the room or apartment, ceiling height, sun exposure, and insulation quality.
Installing an undersized unit because it's cheaper or easier to source is the root cause of most of the problems we fix. This step isn't optional.
Step 2: Remove the Old Unit and Sleeve
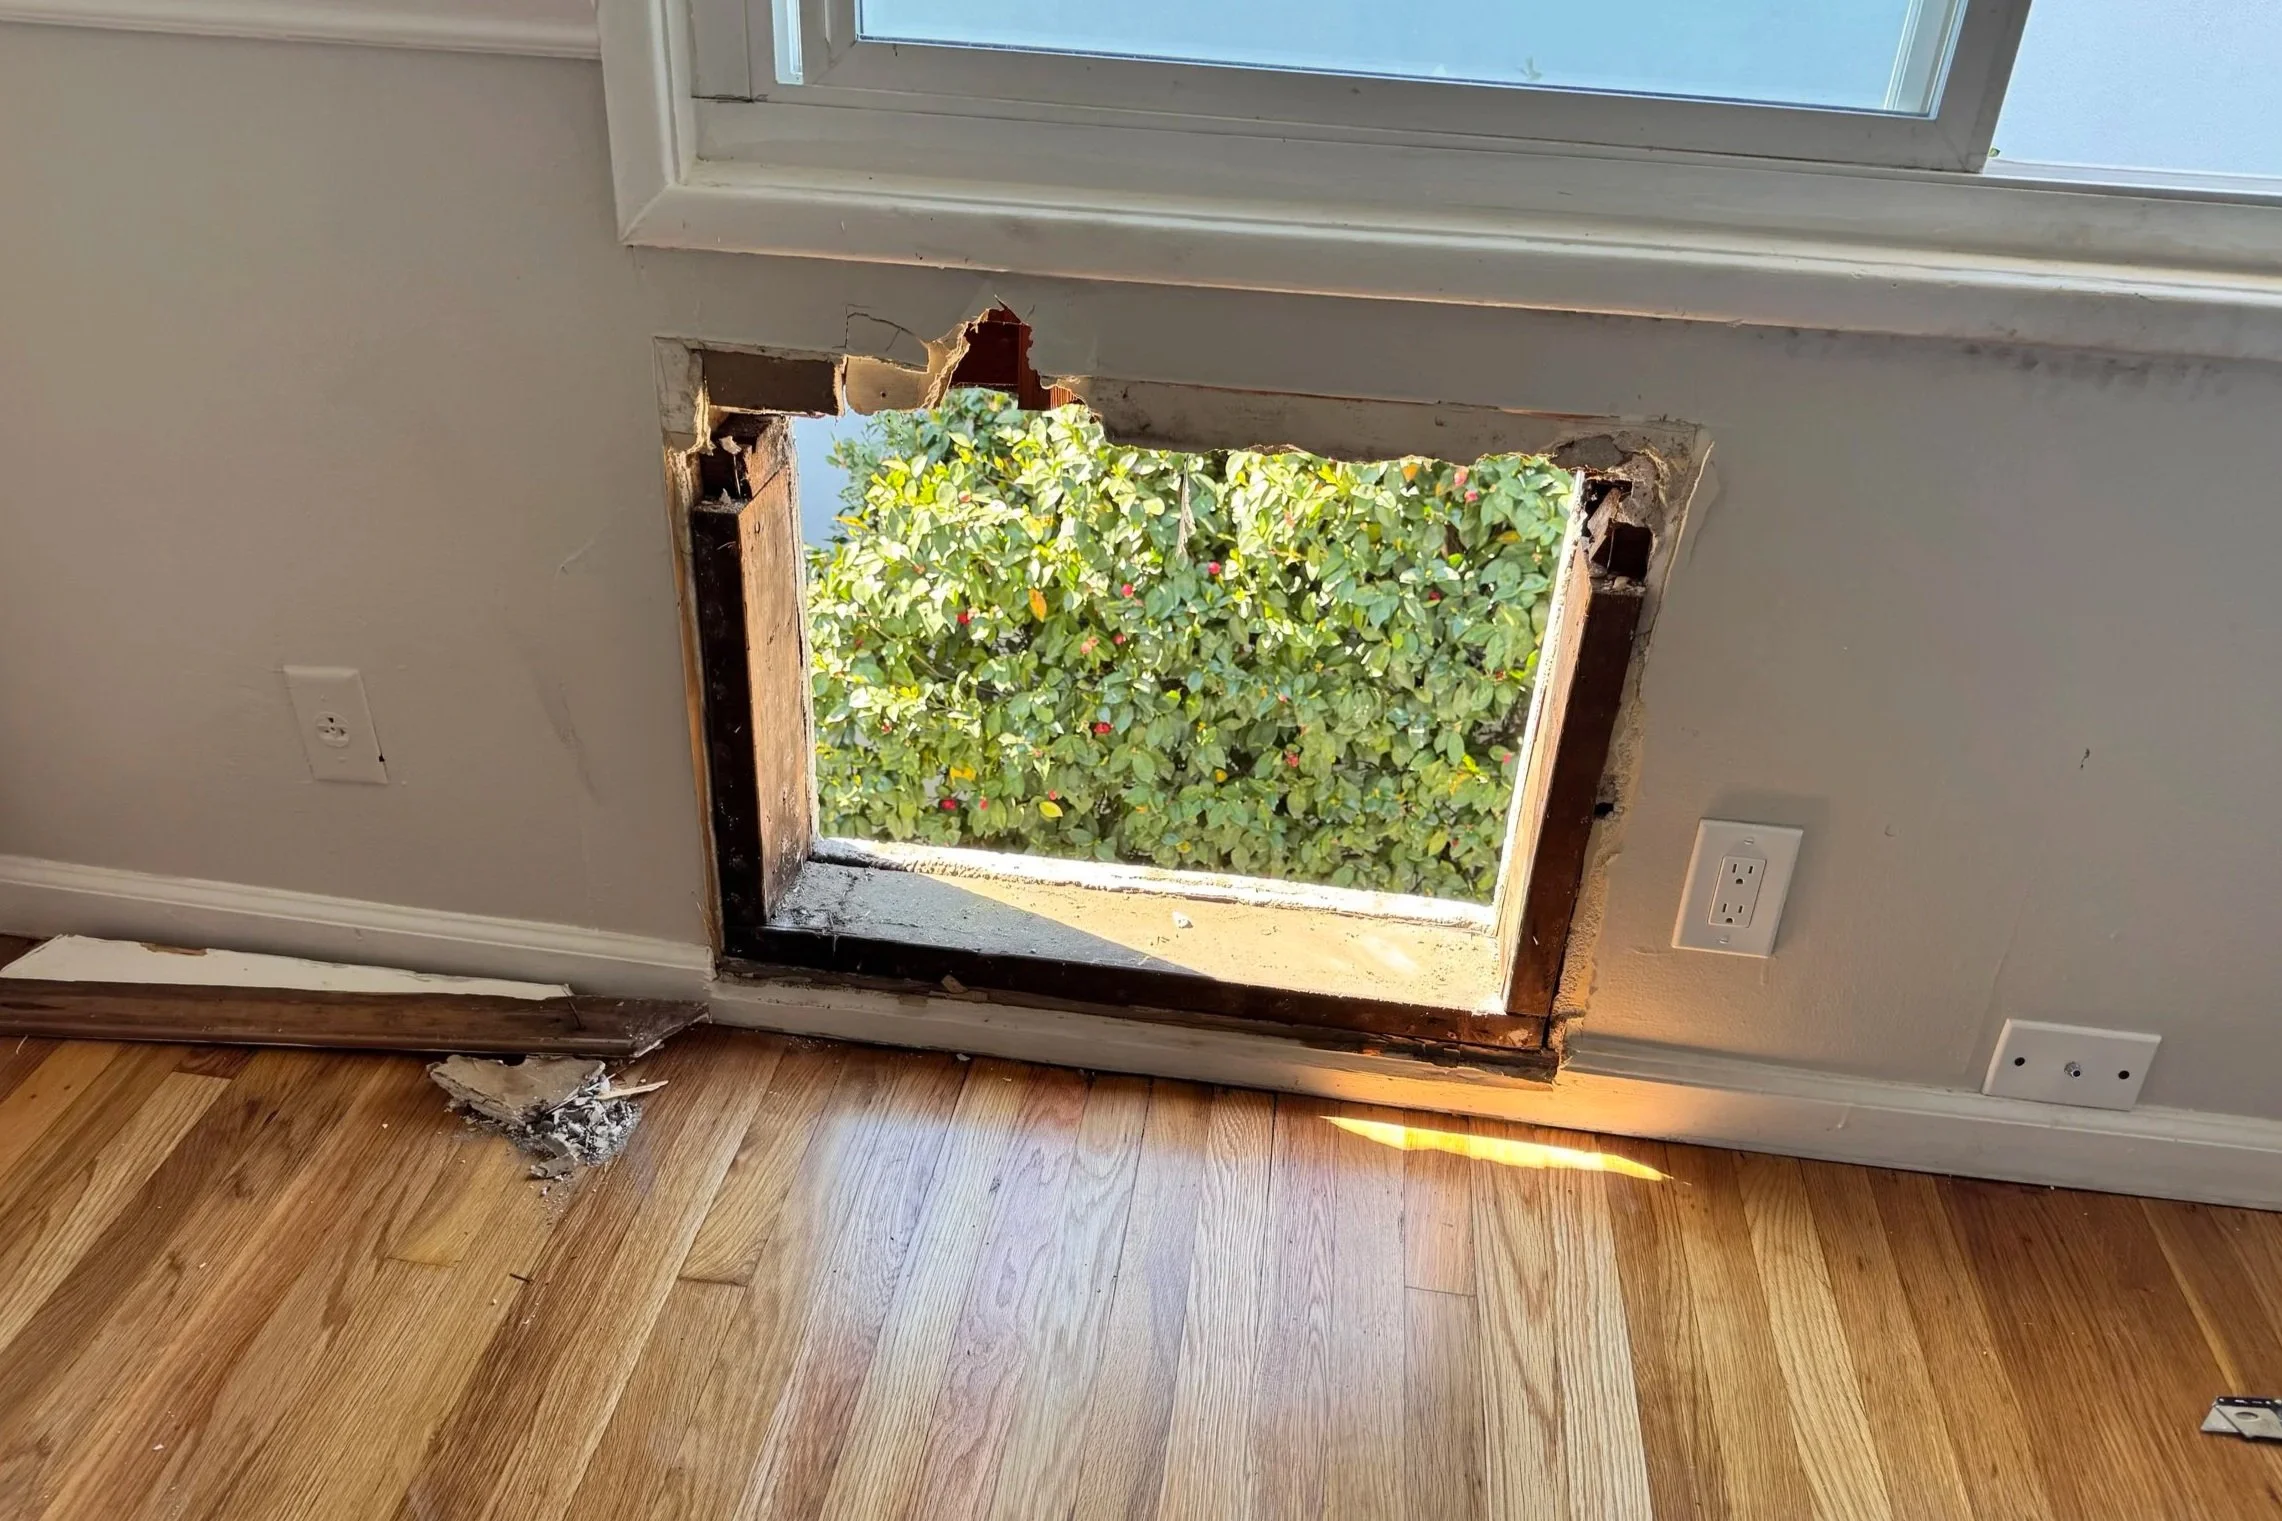
The old unit comes out completely, including the sleeve or cage built into the wall. You cannot properly prep the opening for a new unit without full access to the rough framing.
Step 3: Reframe the Wall Opening
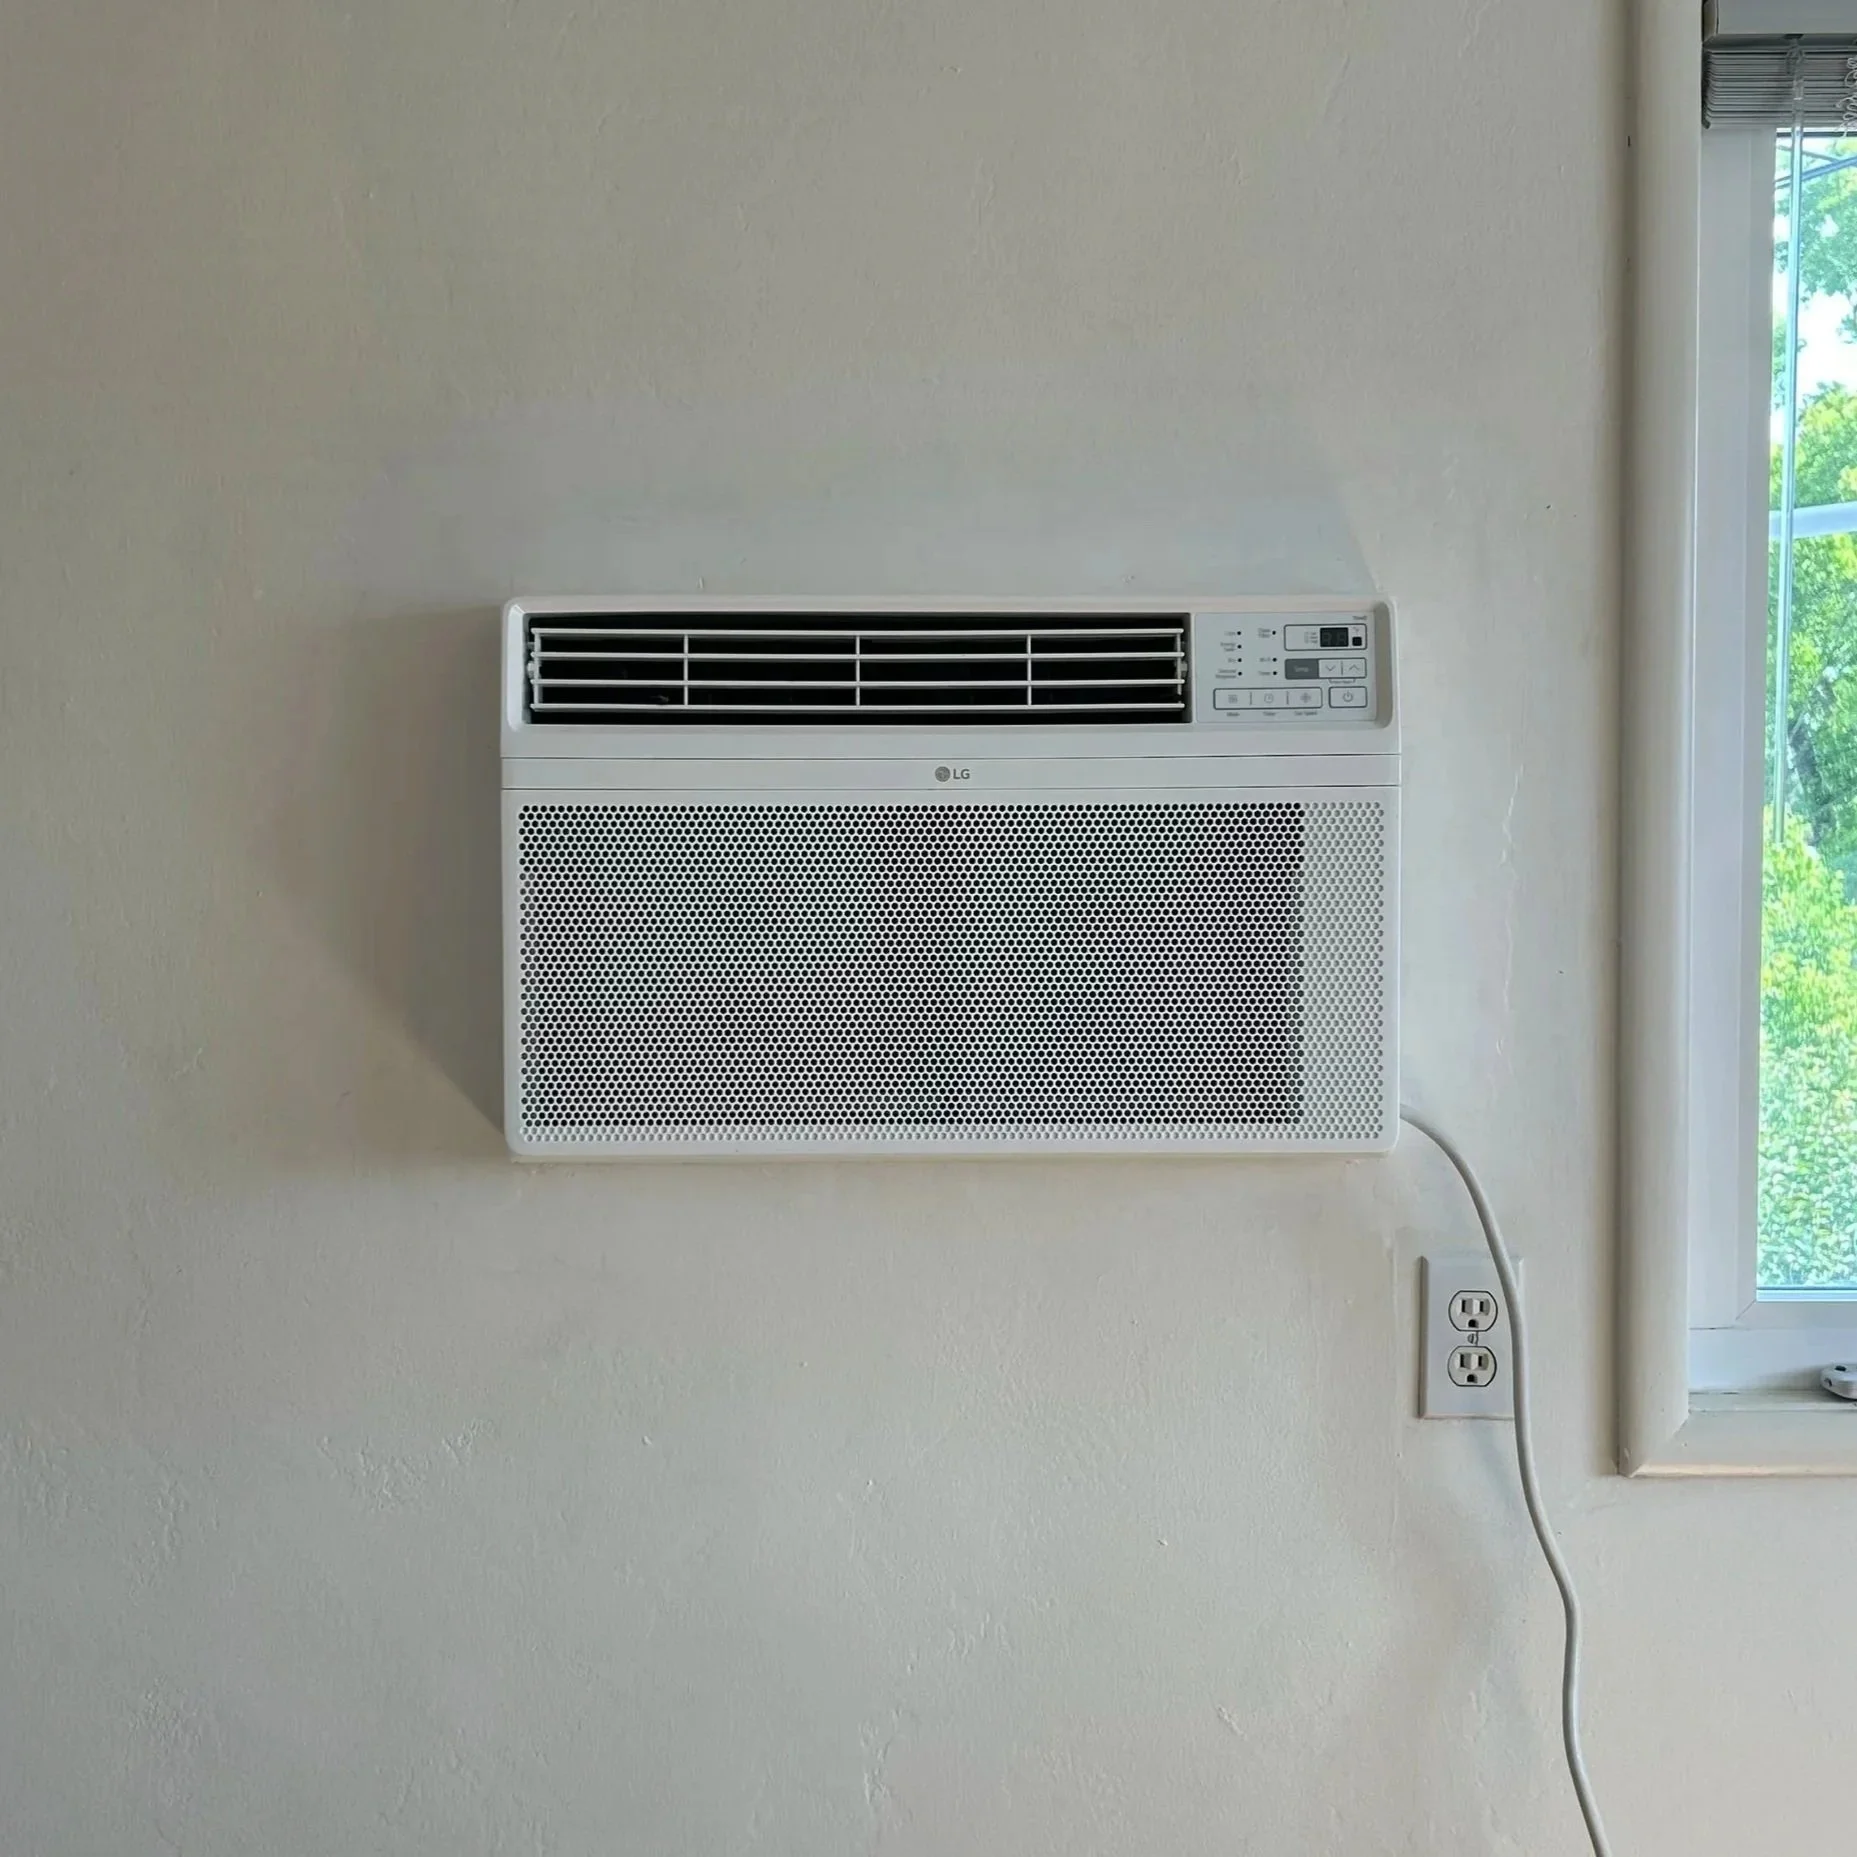
This is the step that separates a professional installation from a shortcut. The wall opening is framed to fit the new unit's exact dimensions. This means cutting back drywall on the interior, adjusting the framing as needed, and preparing the exterior opening in whatever siding material is present, whether that's stucco, wood siding, or otherwise.
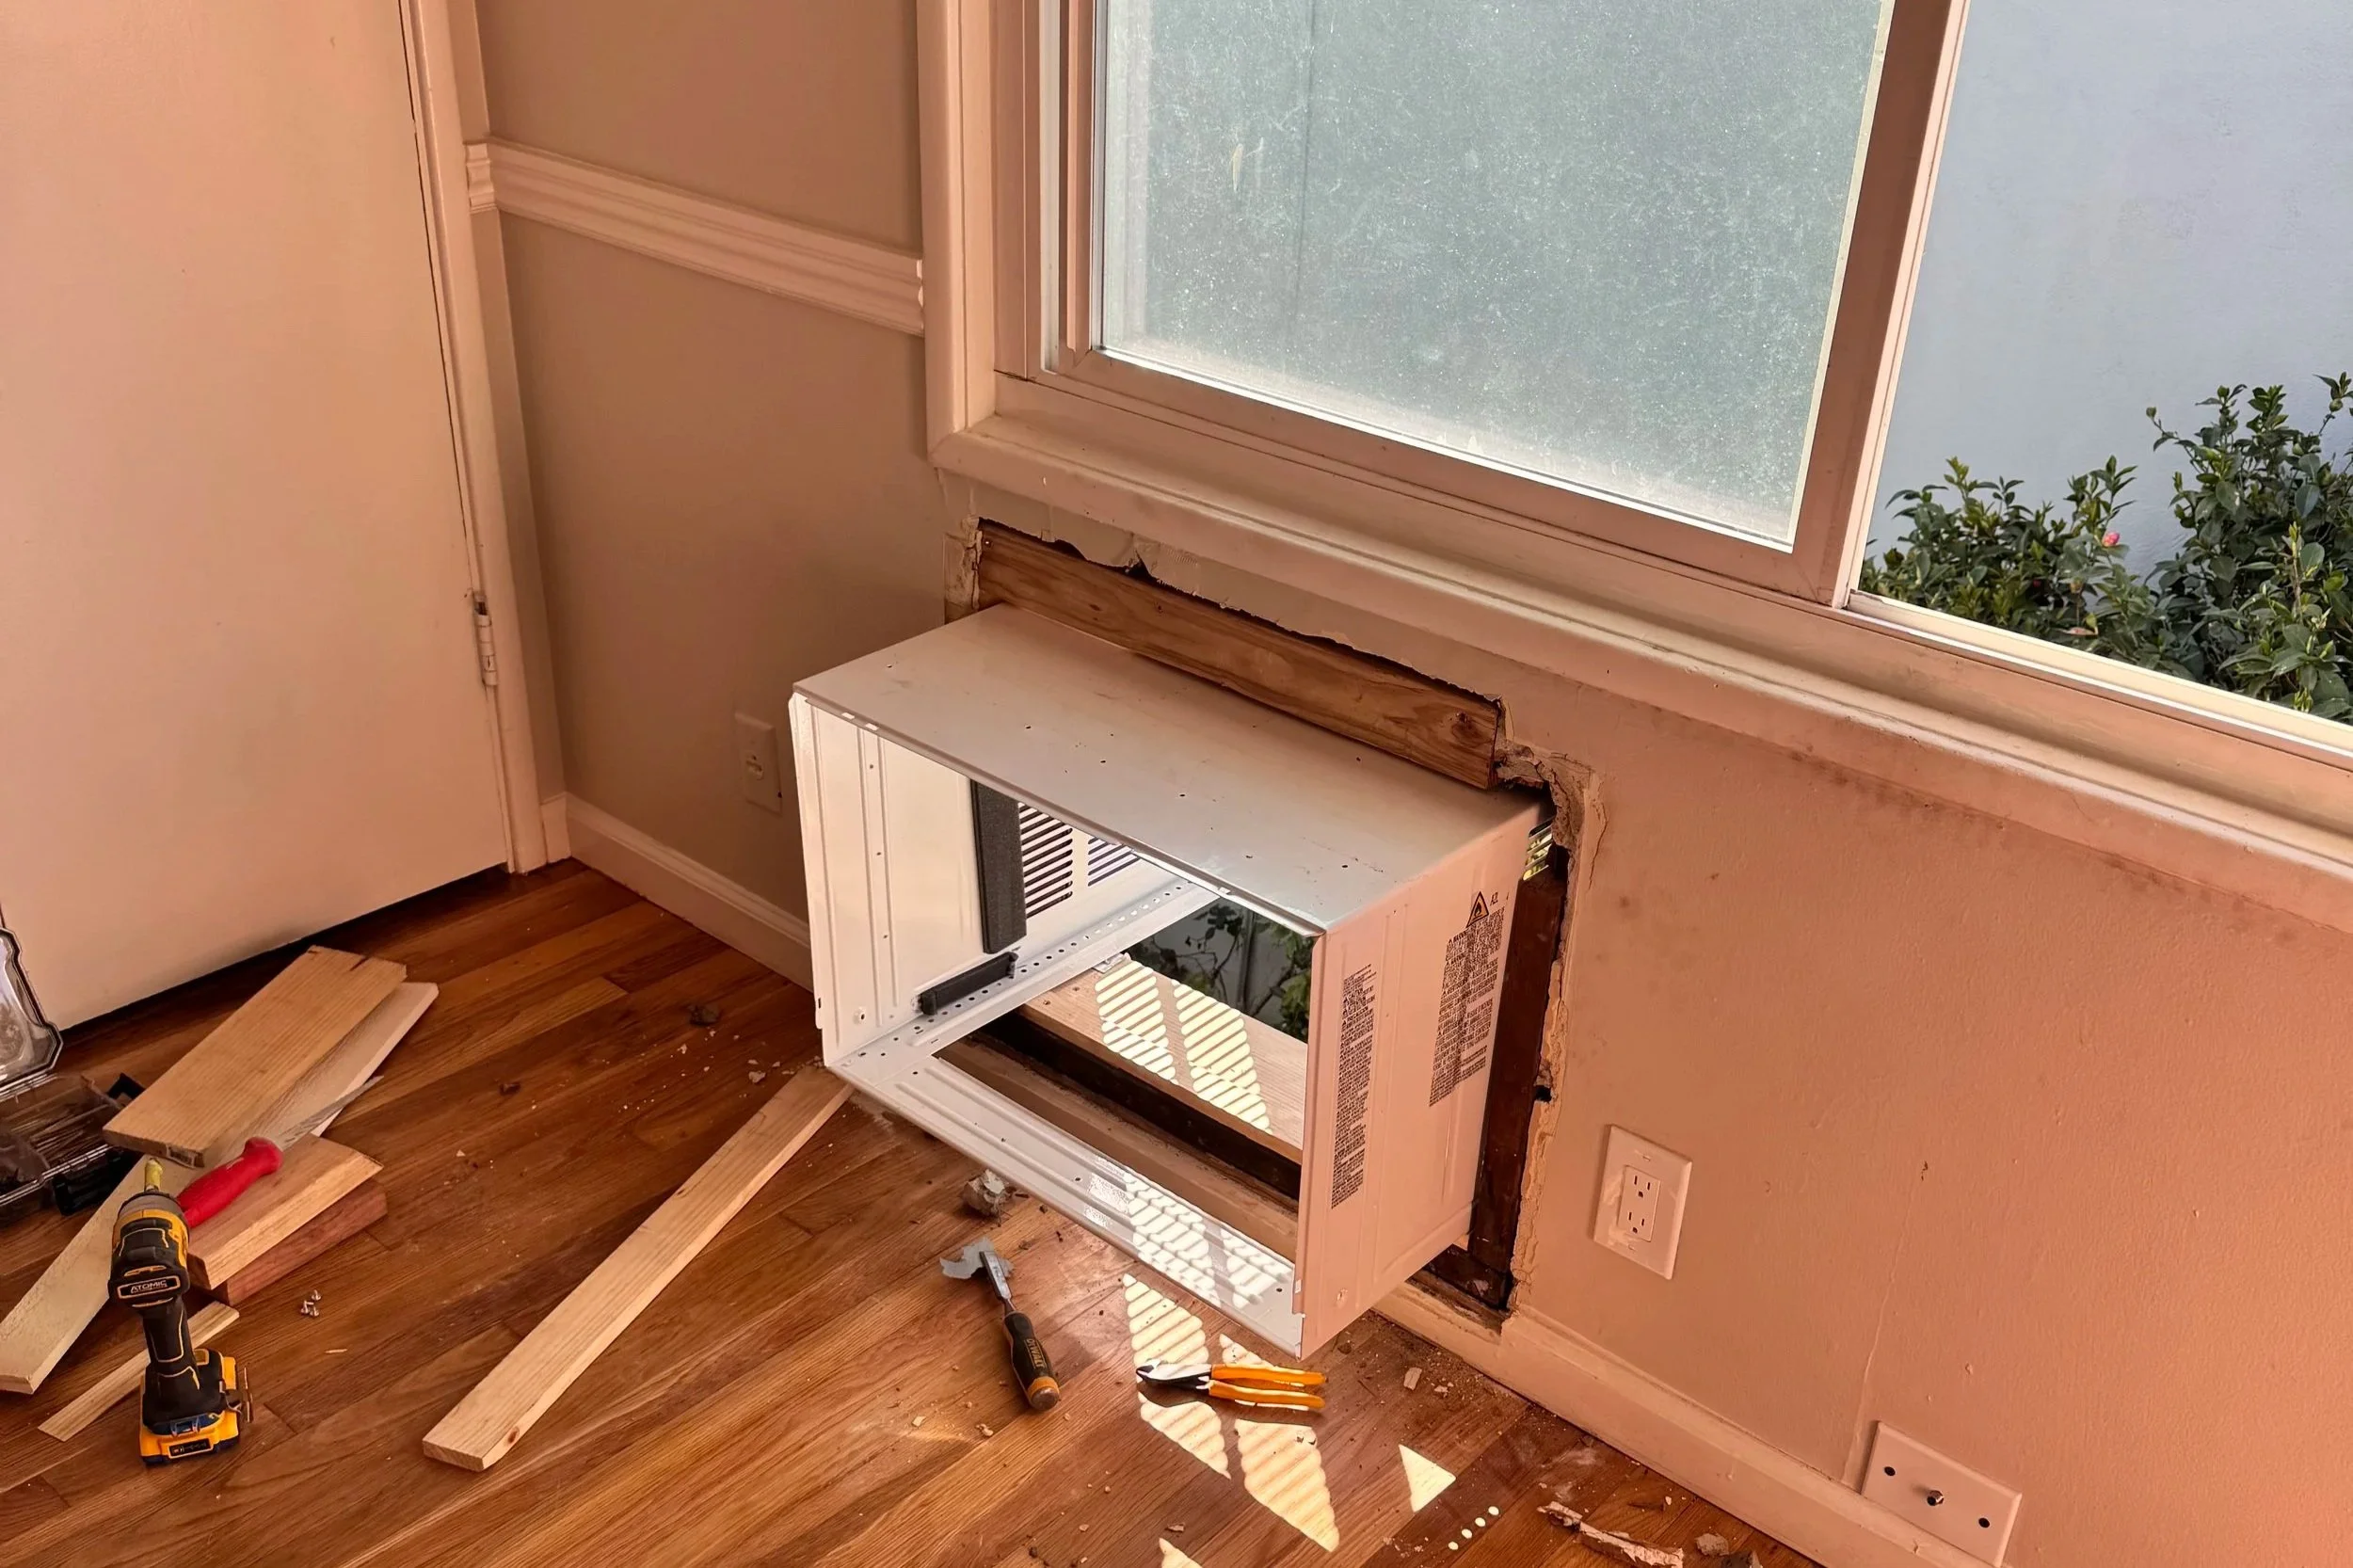
Every unit gets a properly sized opening. No gaps, no improvised filler, no oversized sleeve stuffed with foam.
Step 4: Install the New Unit and Sleeve
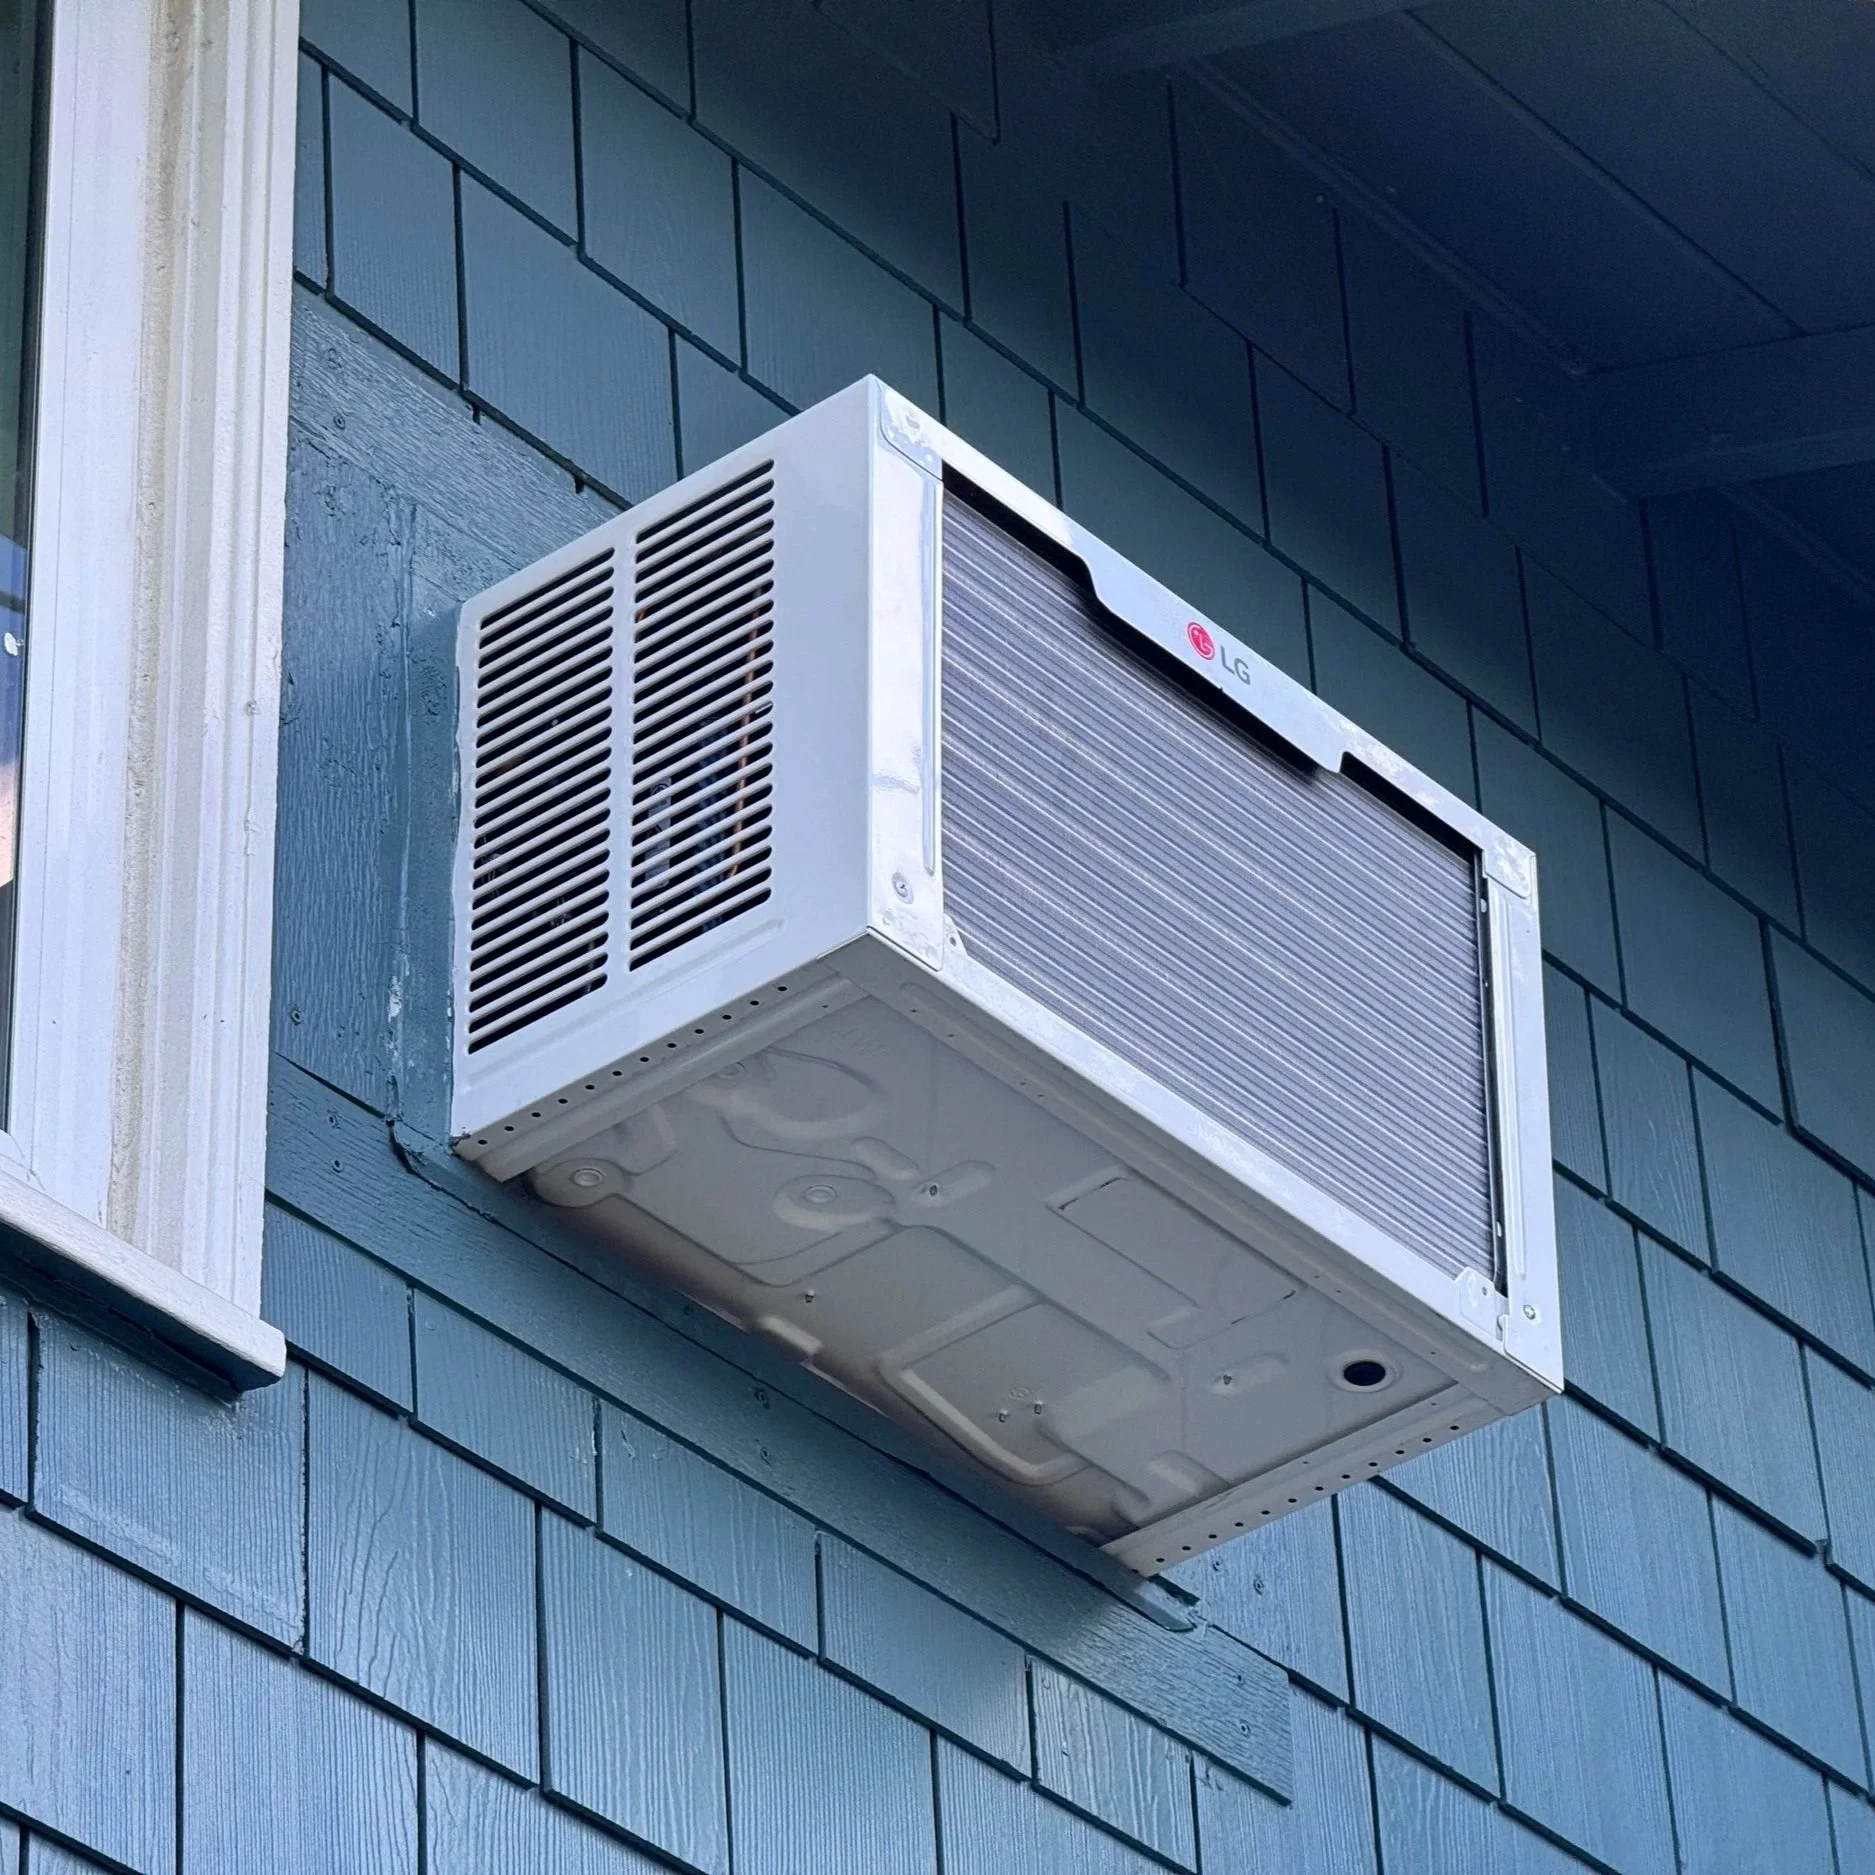
The new sleeve is installed into the framed opening and secured properly. The unit slides into a sleeve that was built for it. This is how you get a clean, weathertight fit.
Step 5: Seal the Exterior
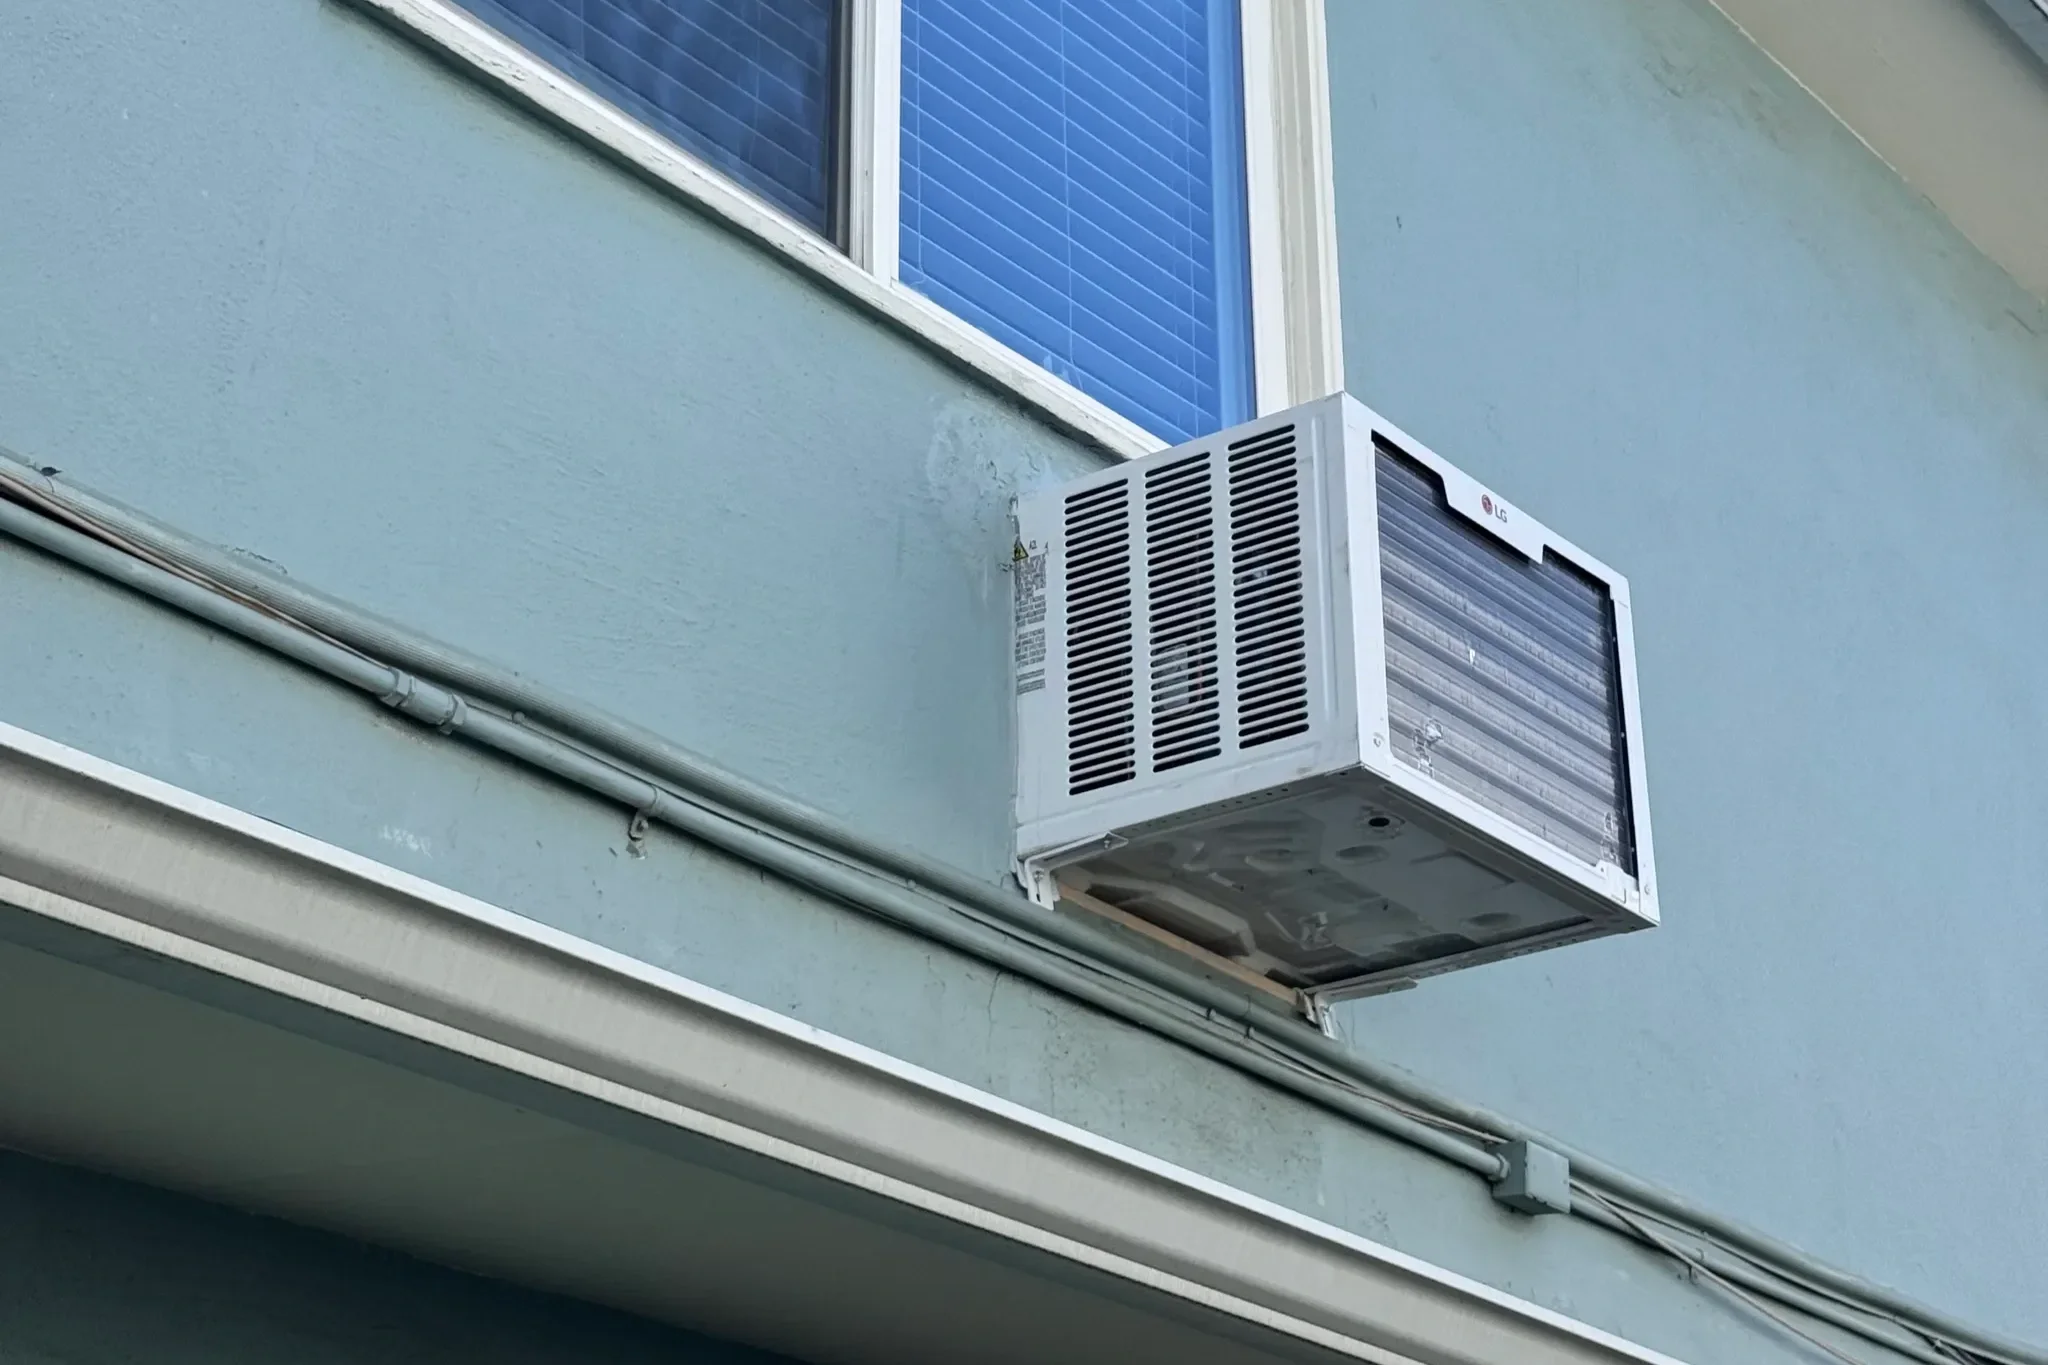
The exterior is sealed and finished to match the existing siding. For stucco, that means patching and finishing the stucco to blend with the surrounding wall. For wood siding, trim is cut and installed to cover the perimeter of the unit cleanly. The seal is weathertight and designed to last.
Step 6: Patch and Finish the Interior
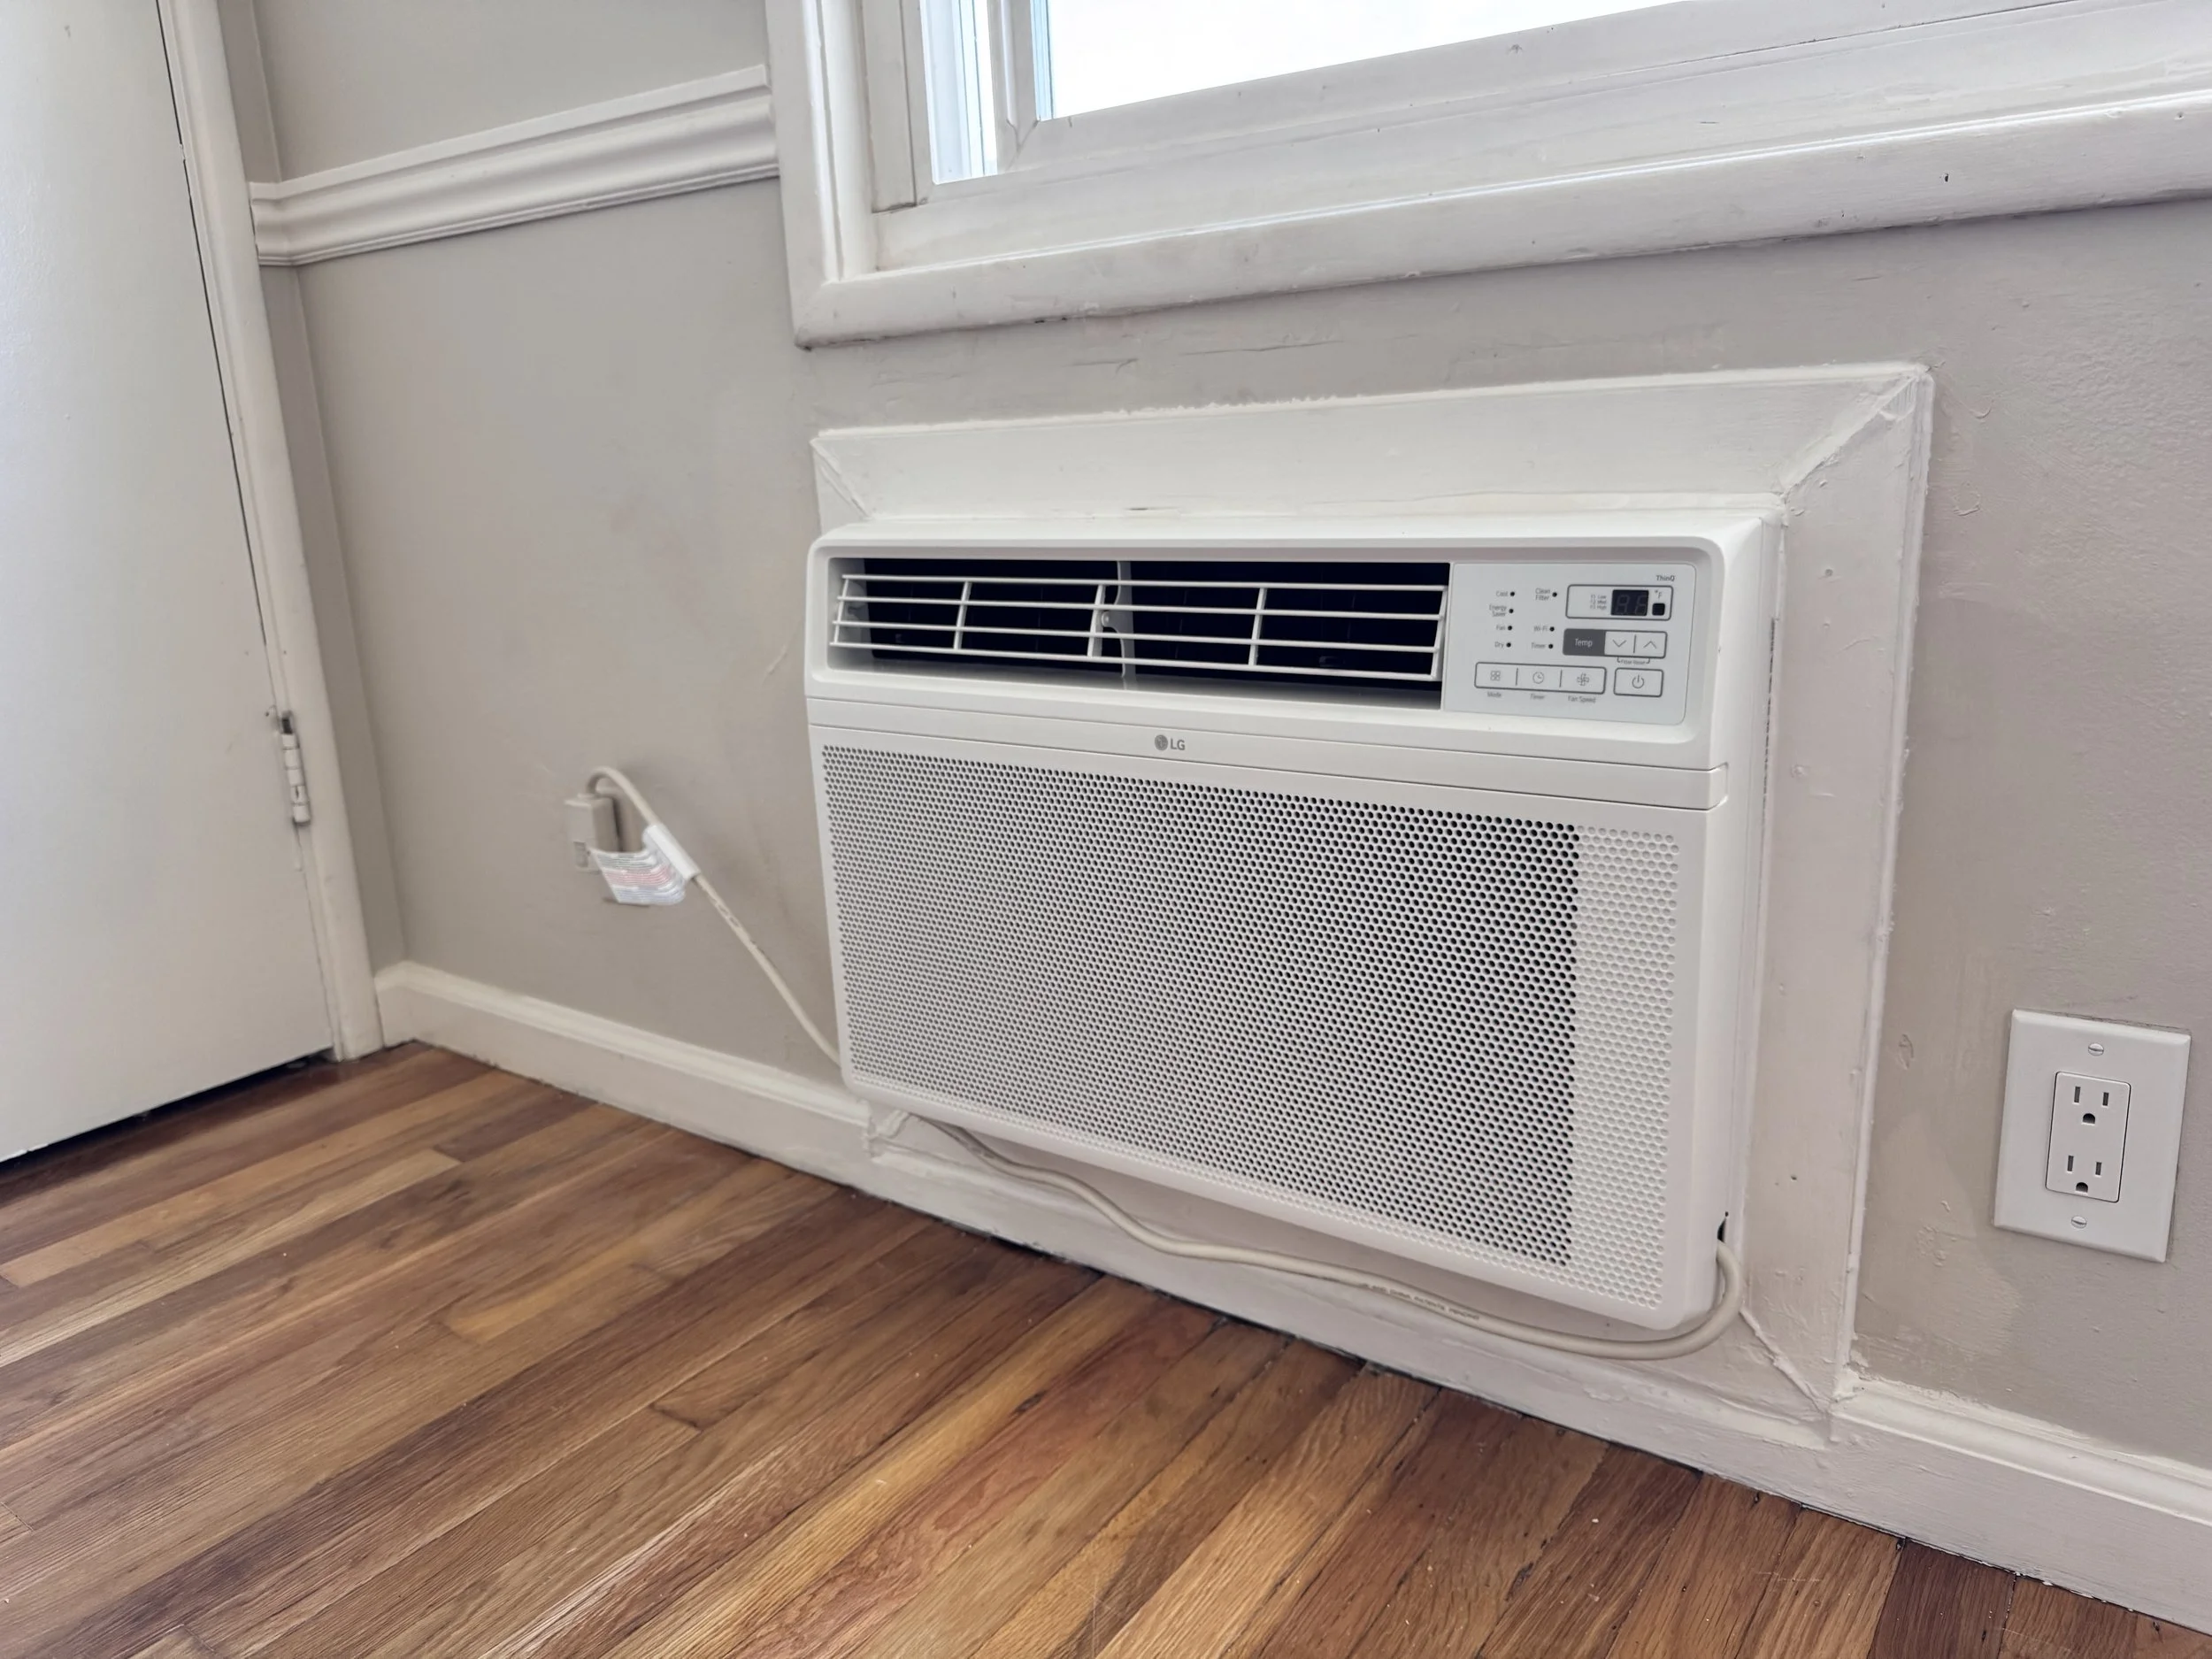
On the inside, drywall is patched, skimmed, and finished where the opening was modified. It gets painted to match the existing wall. When the job is done, it looks like the unit was always there.
Why This Requires a Licensed Contractor
Wall AC replacement involves carpentry, drywall work, exterior finishing, and in some cases minor electrical. In California, work that affects a building's structure or systems requires a licensed contractor.
Beyond the licensing requirement, there's a practical reason to insist on a licensed professional: accountability. A licensed contractor carries insurance, pulls permits when required, and is responsible for the quality of their work. When something goes wrong with an installation done by an unlicensed handyman, your options for recourse are limited.
QuickTurn Maintenance holds a California contractor's license and carries full liability insurance. We've completed AC replacements across the Sacramento region for property managers who needed the job done right and documented correctly
A Note for Property Managers
If you've had AC units replaced at your properties in the last few years and you're not sure how the job was done, it's worth a look. Check for:
Units that seem small relative to the apartment size
Visible gaps or uneven trim around the unit on the interior or exterior
Drafts near the unit during hot or cold weather
Tenants complaining that the unit runs constantly but can't keep up
Premature unit failures within three to five years of installation
Any of these are signs that a previous installation may have cut corners. Catching it now is significantly cheaper than waiting for the unit to fail or for a tenant to escalate a habitability complaint.
The Bottom Line
A wall AC replacement done right takes more time and costs more upfront than swapping in the cheapest unit and calling it done. But the difference in lifespan, efficiency, tenant satisfaction, and callback reduction makes the proper job the obvious choice from a total cost standpoint.
We do it right the first time so you don't have to do it twice.
Dealing with aging or improperly installed AC units at your properties? Contact QuickTurn Maintenance for an assessment and quote.
QuickTurn Maintenance is a licensed California contractor serving property managers and property owners in the Sacramento-Roseville-Arden-Arcade region. For licensing verification or service inquiries, contact us at [email protected] or (916) 573-9859.
